
超好用手機剪輯軟體【InShot基礎教學】八、關鍵幀
今天AstralWeb要與大家分享手機剪輯軟體InShot的關鍵幀使用,一起來看看吧!
※版本V 1.66.2A
『延伸閱讀』:
- 超好用手機剪輯軟體【InShot基礎教學】剪輯與輸出
- 超好用手機剪輯軟體【InShot基礎教學】過場動畫
- 超好用手機剪輯軟體【InShot基礎教學】動態文字
- 超好用手機剪輯軟體【InShot基礎教學】動態貼紙
- 超好用手機剪輯軟體【InShot基礎教學】音樂/音效/錄音
- 超好用手機剪輯軟體【Inshot基礎教學】特效
- 超好用手機剪輯軟體【InShot基礎教學】畫布與剪裁
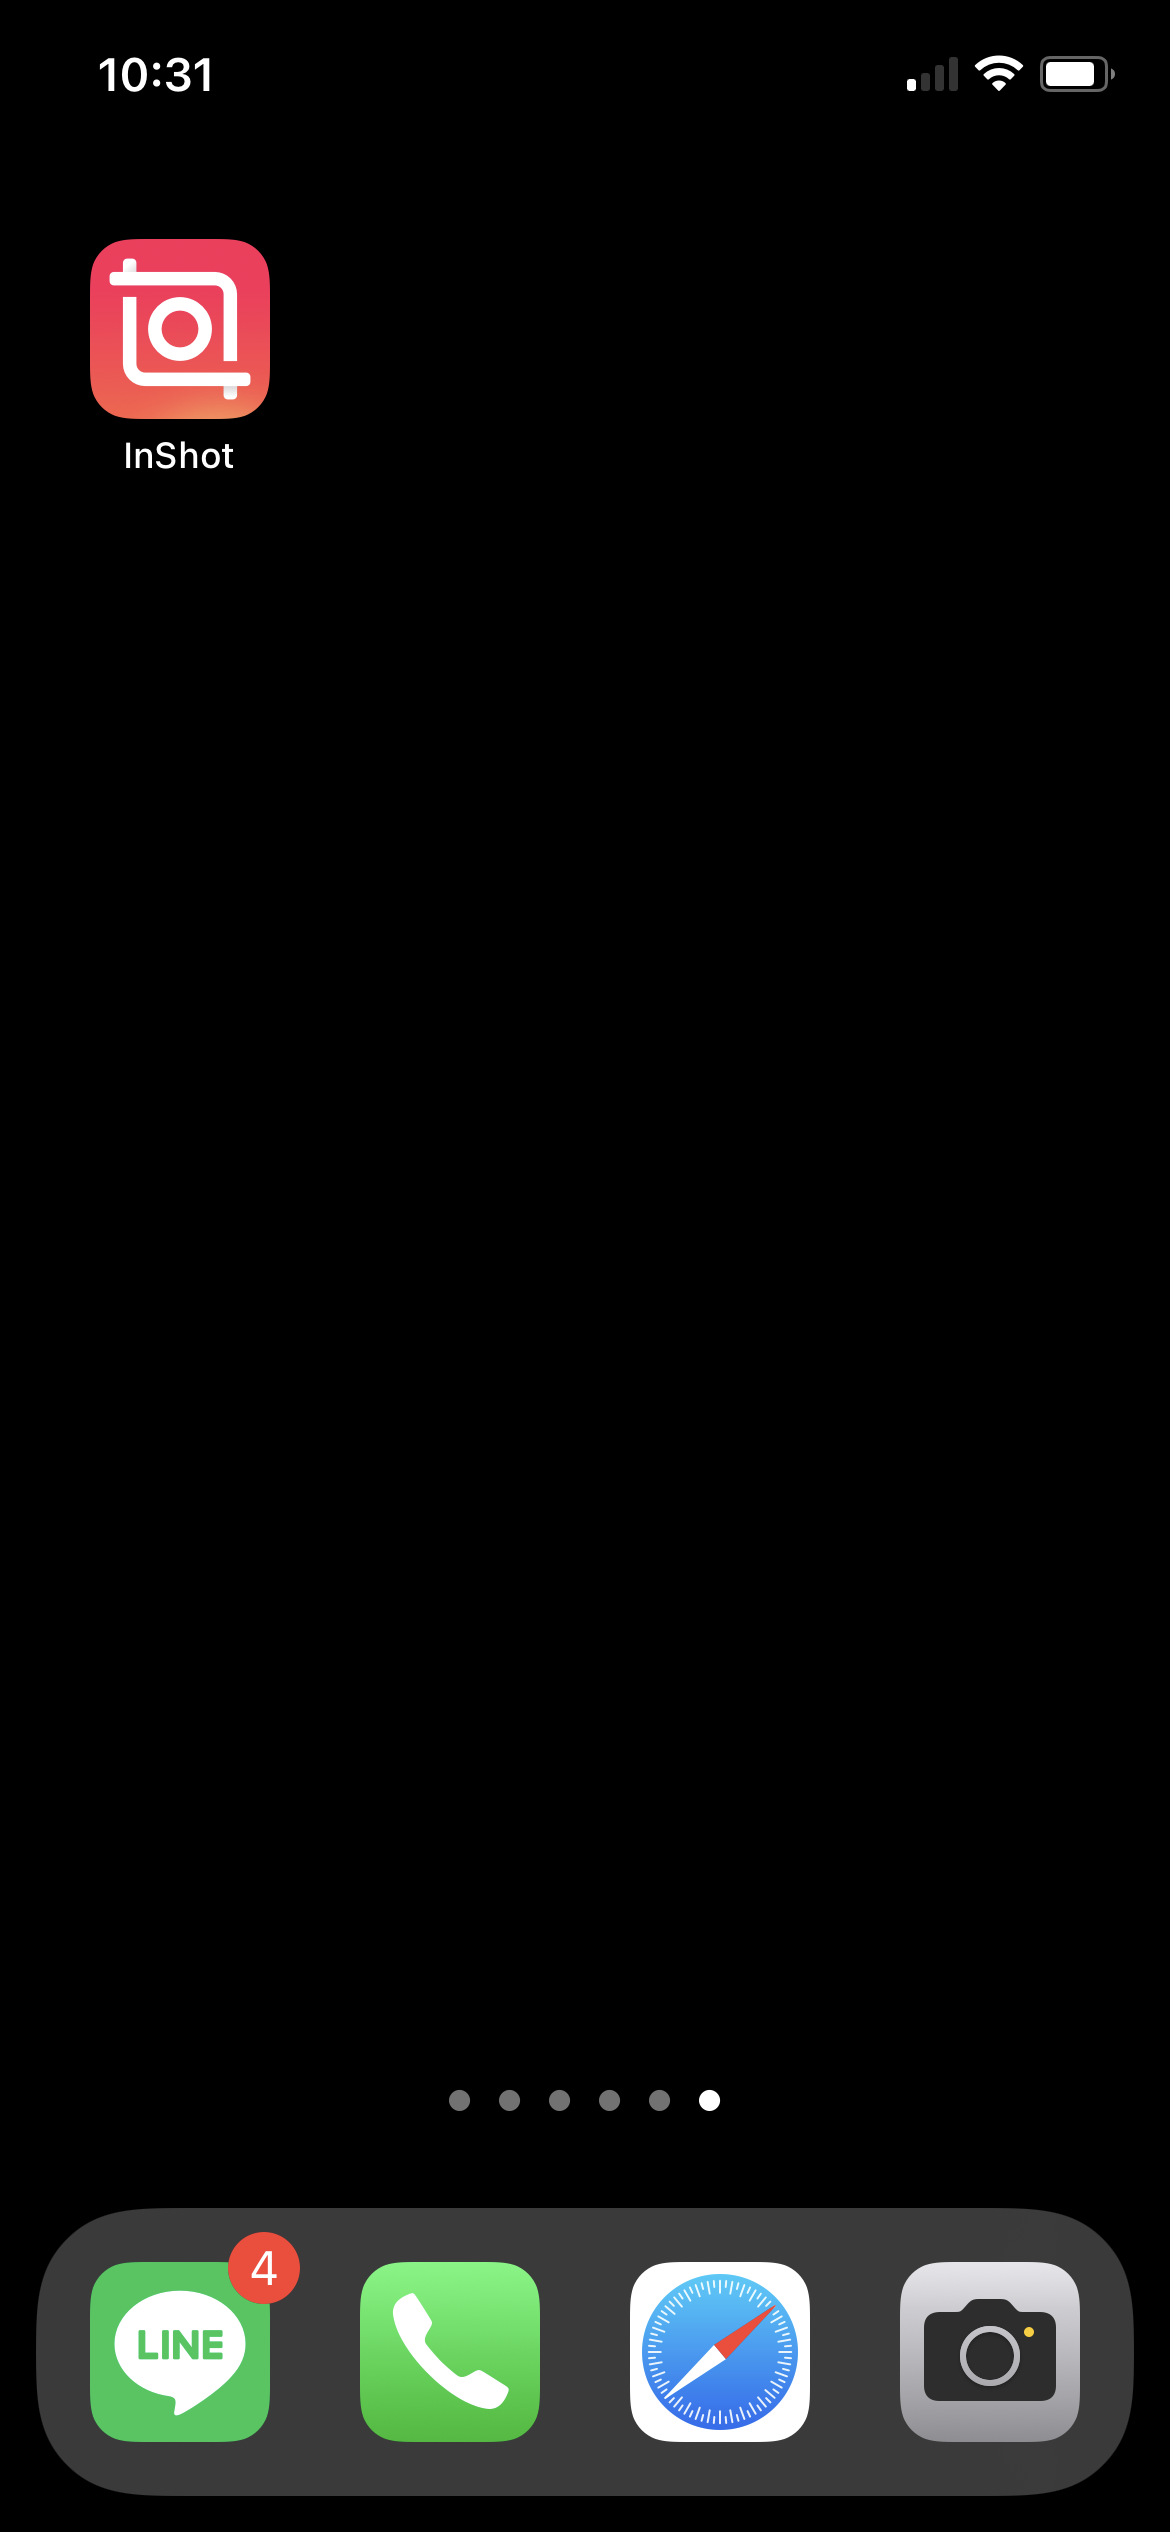
1.使用手機下載並開啟InShot App
2.點擊「影片」
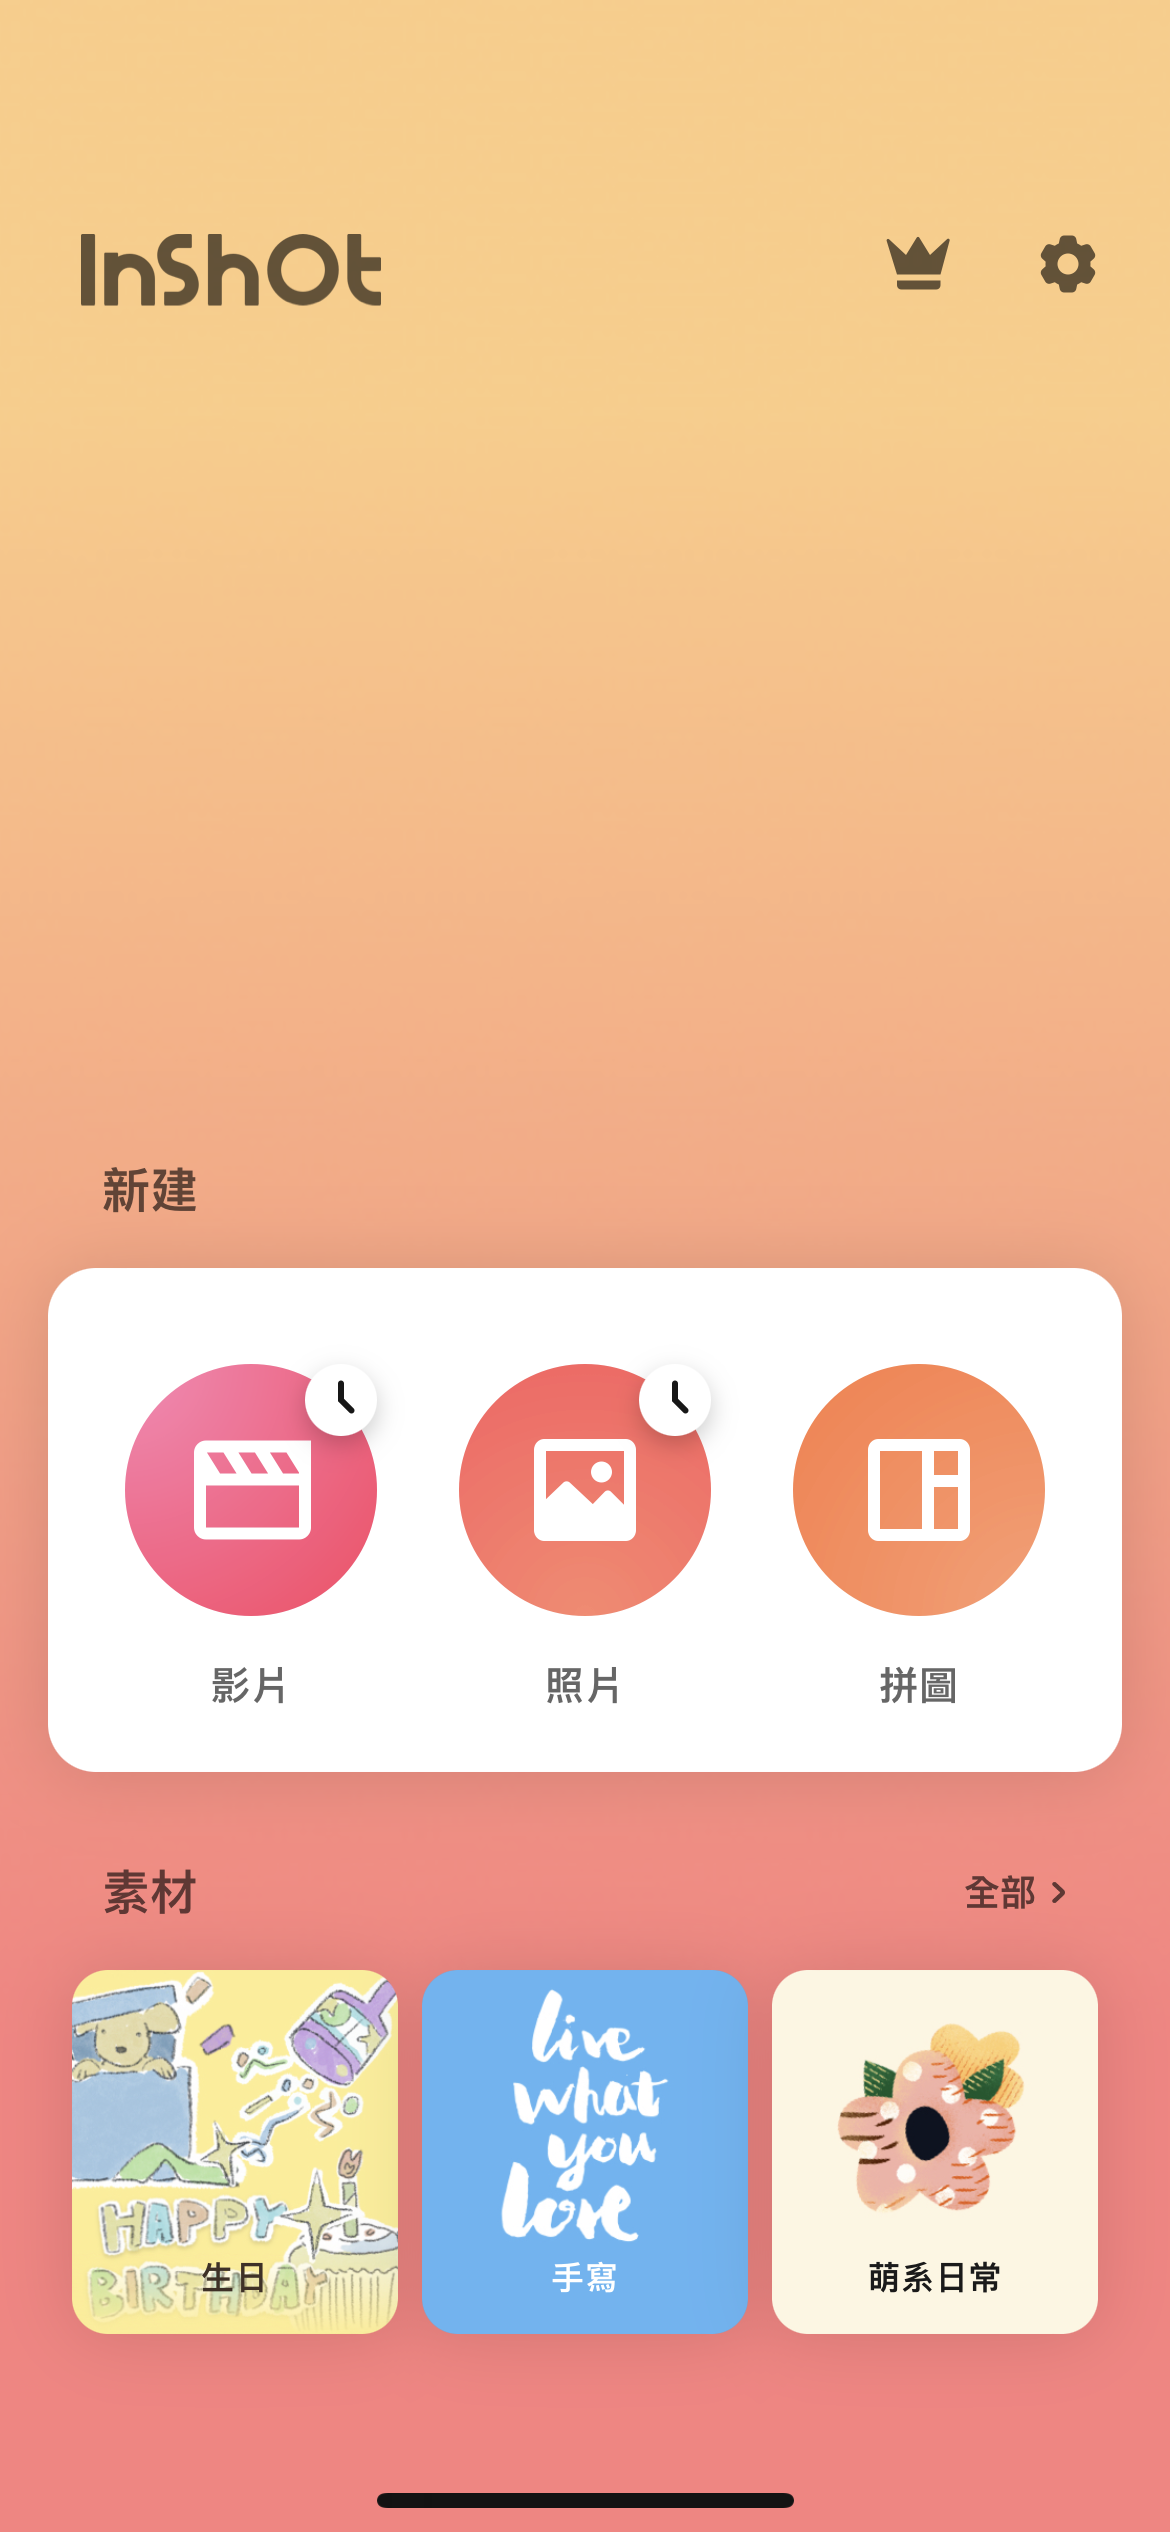
3.選擇「新建」,此畫面也能開啟先前製作過的草稿

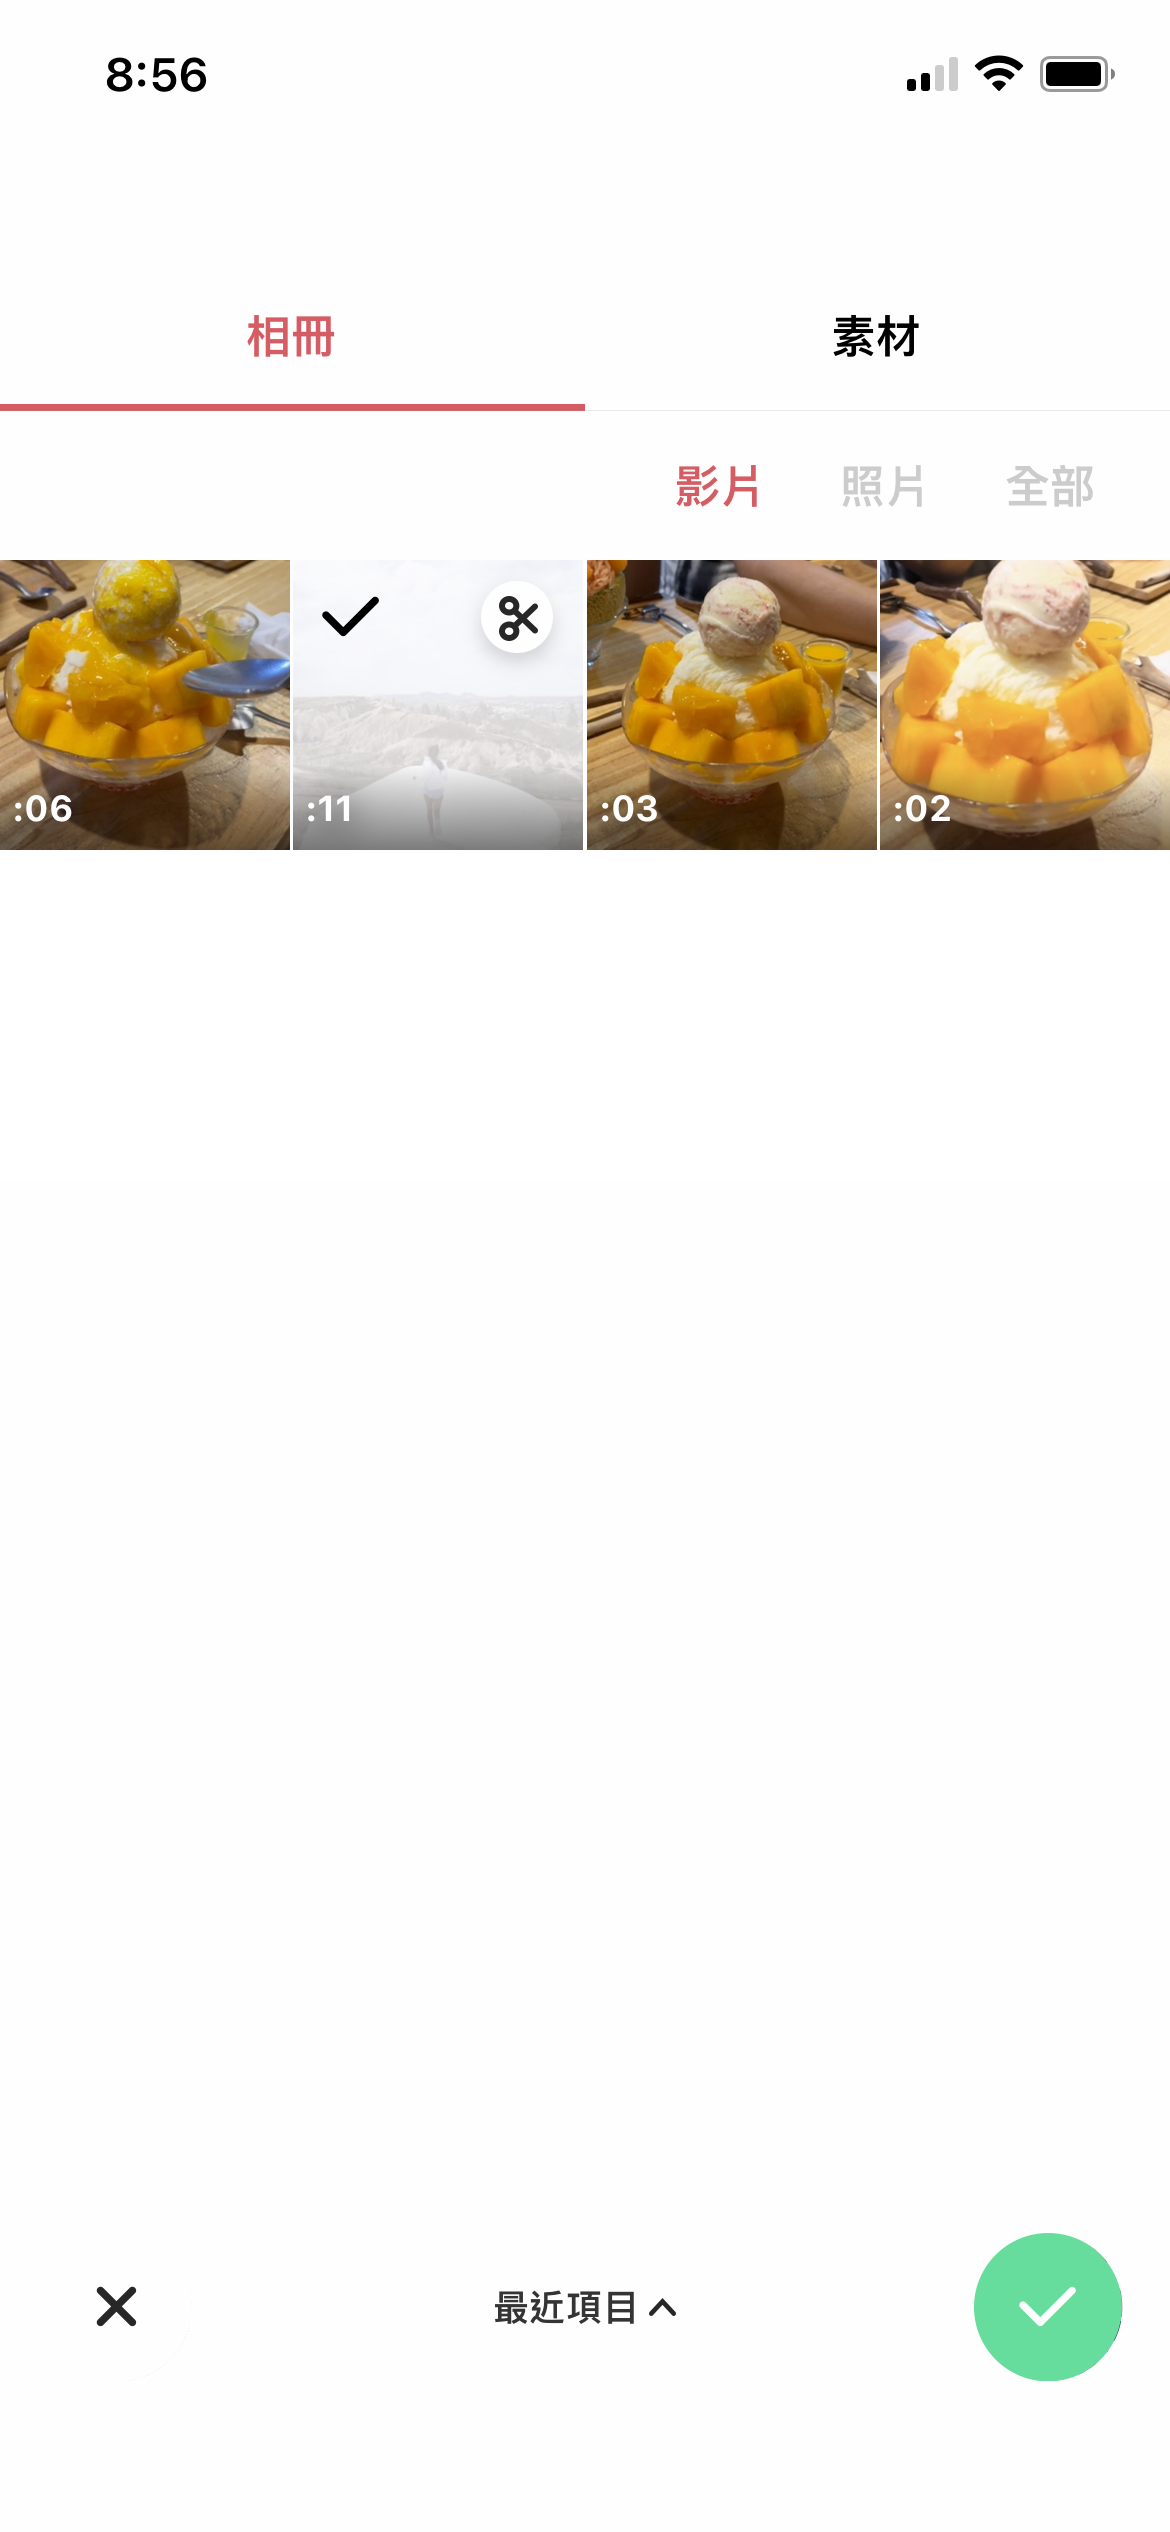
4.選擇要製作的所有影片
5.點選時間軸上的影片片段
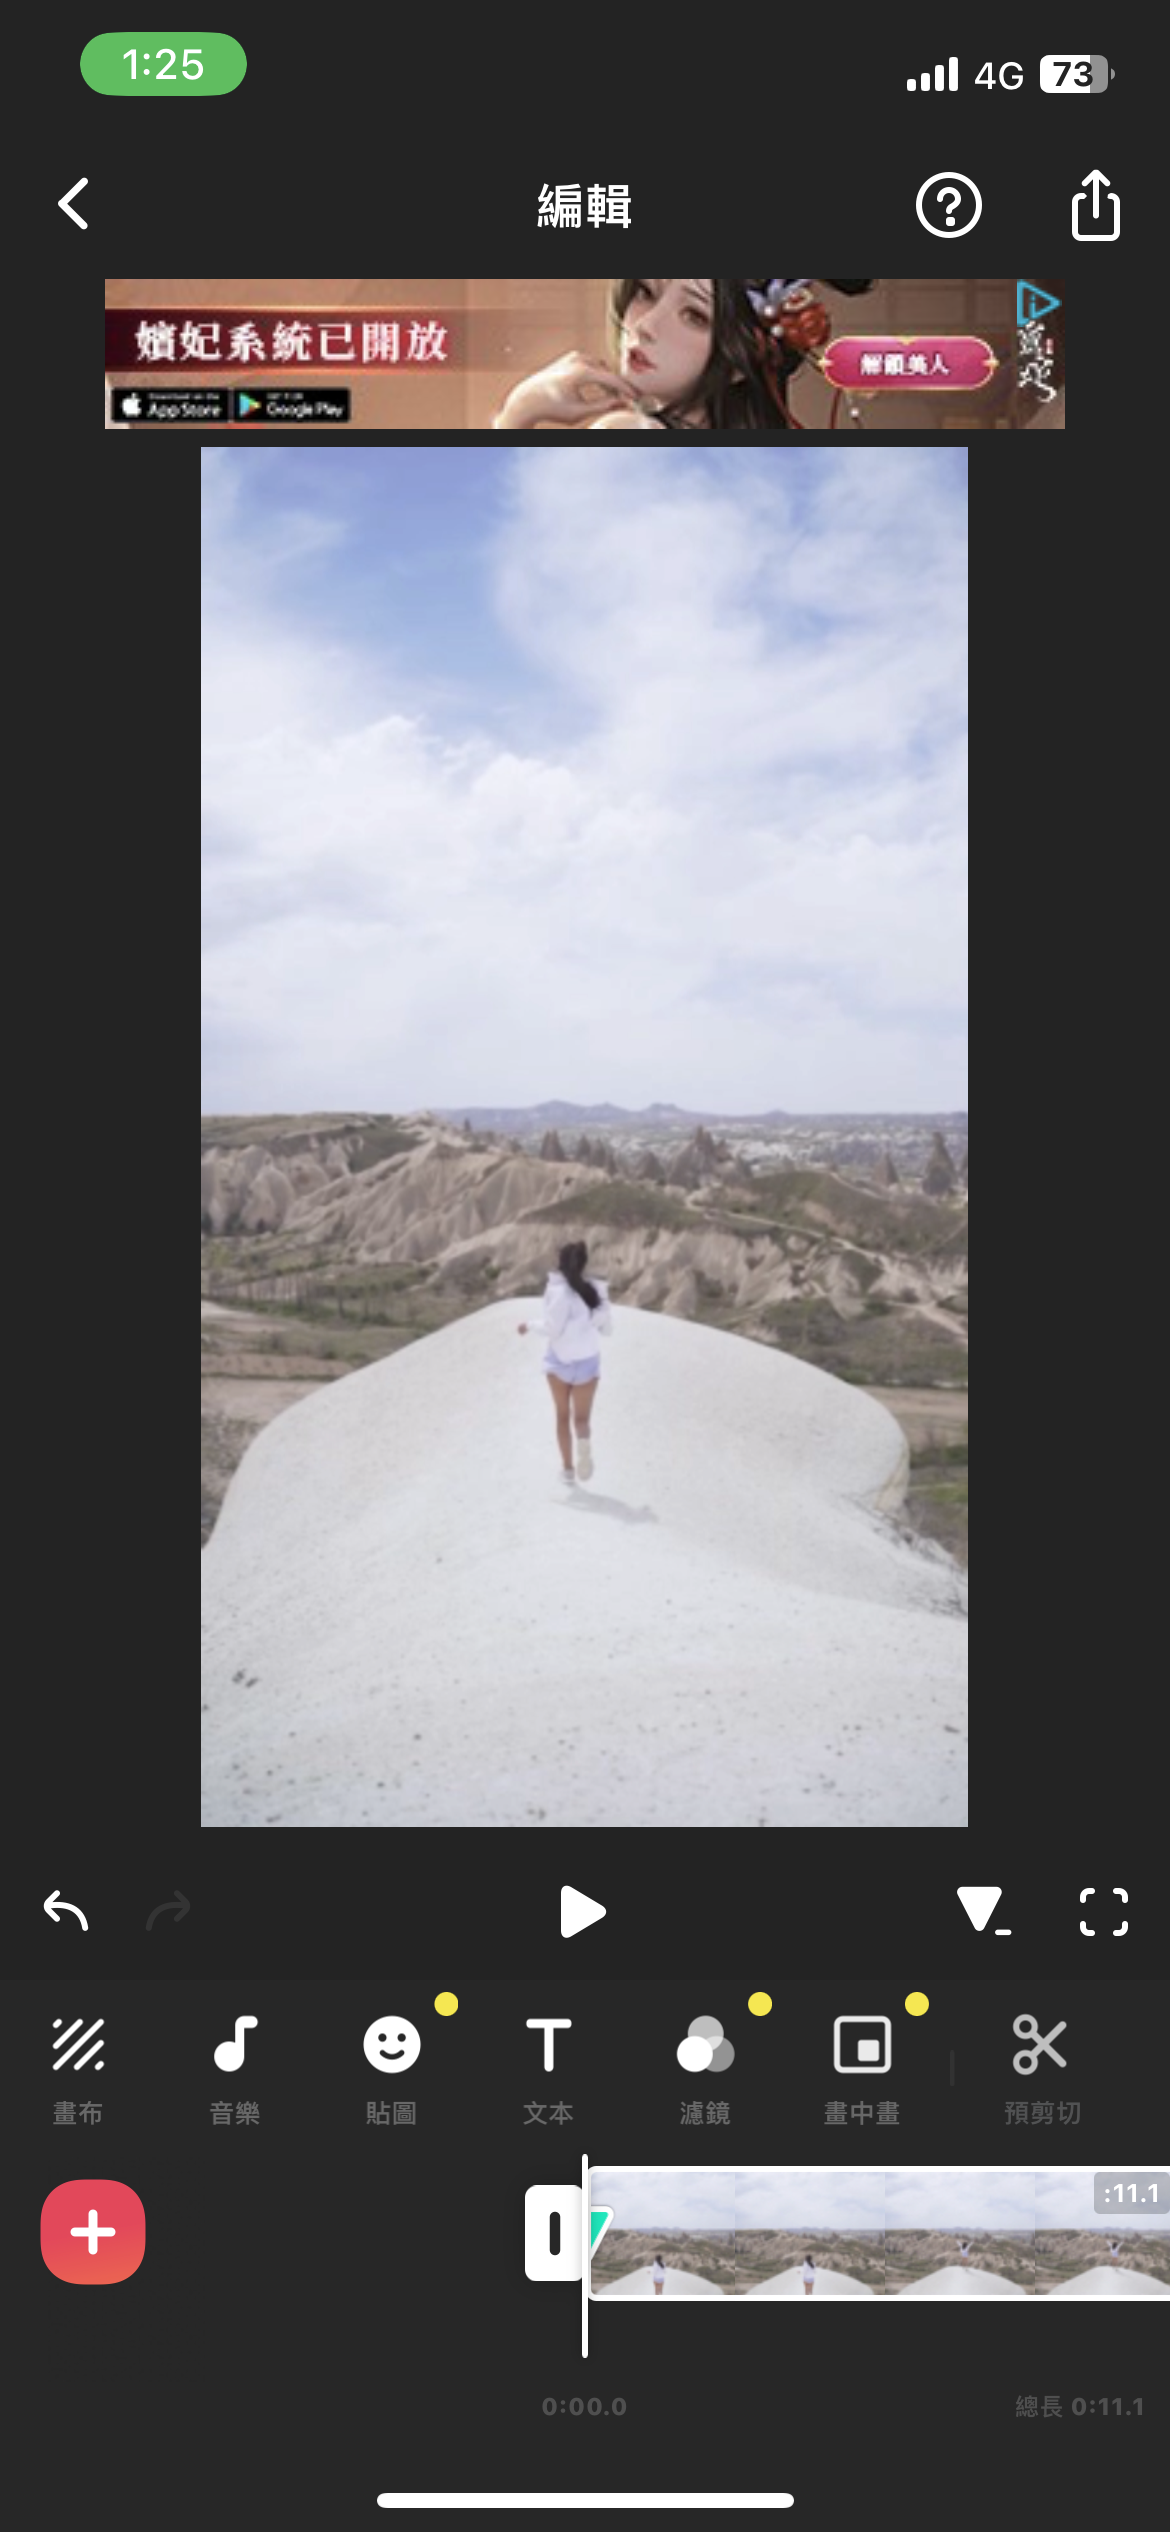
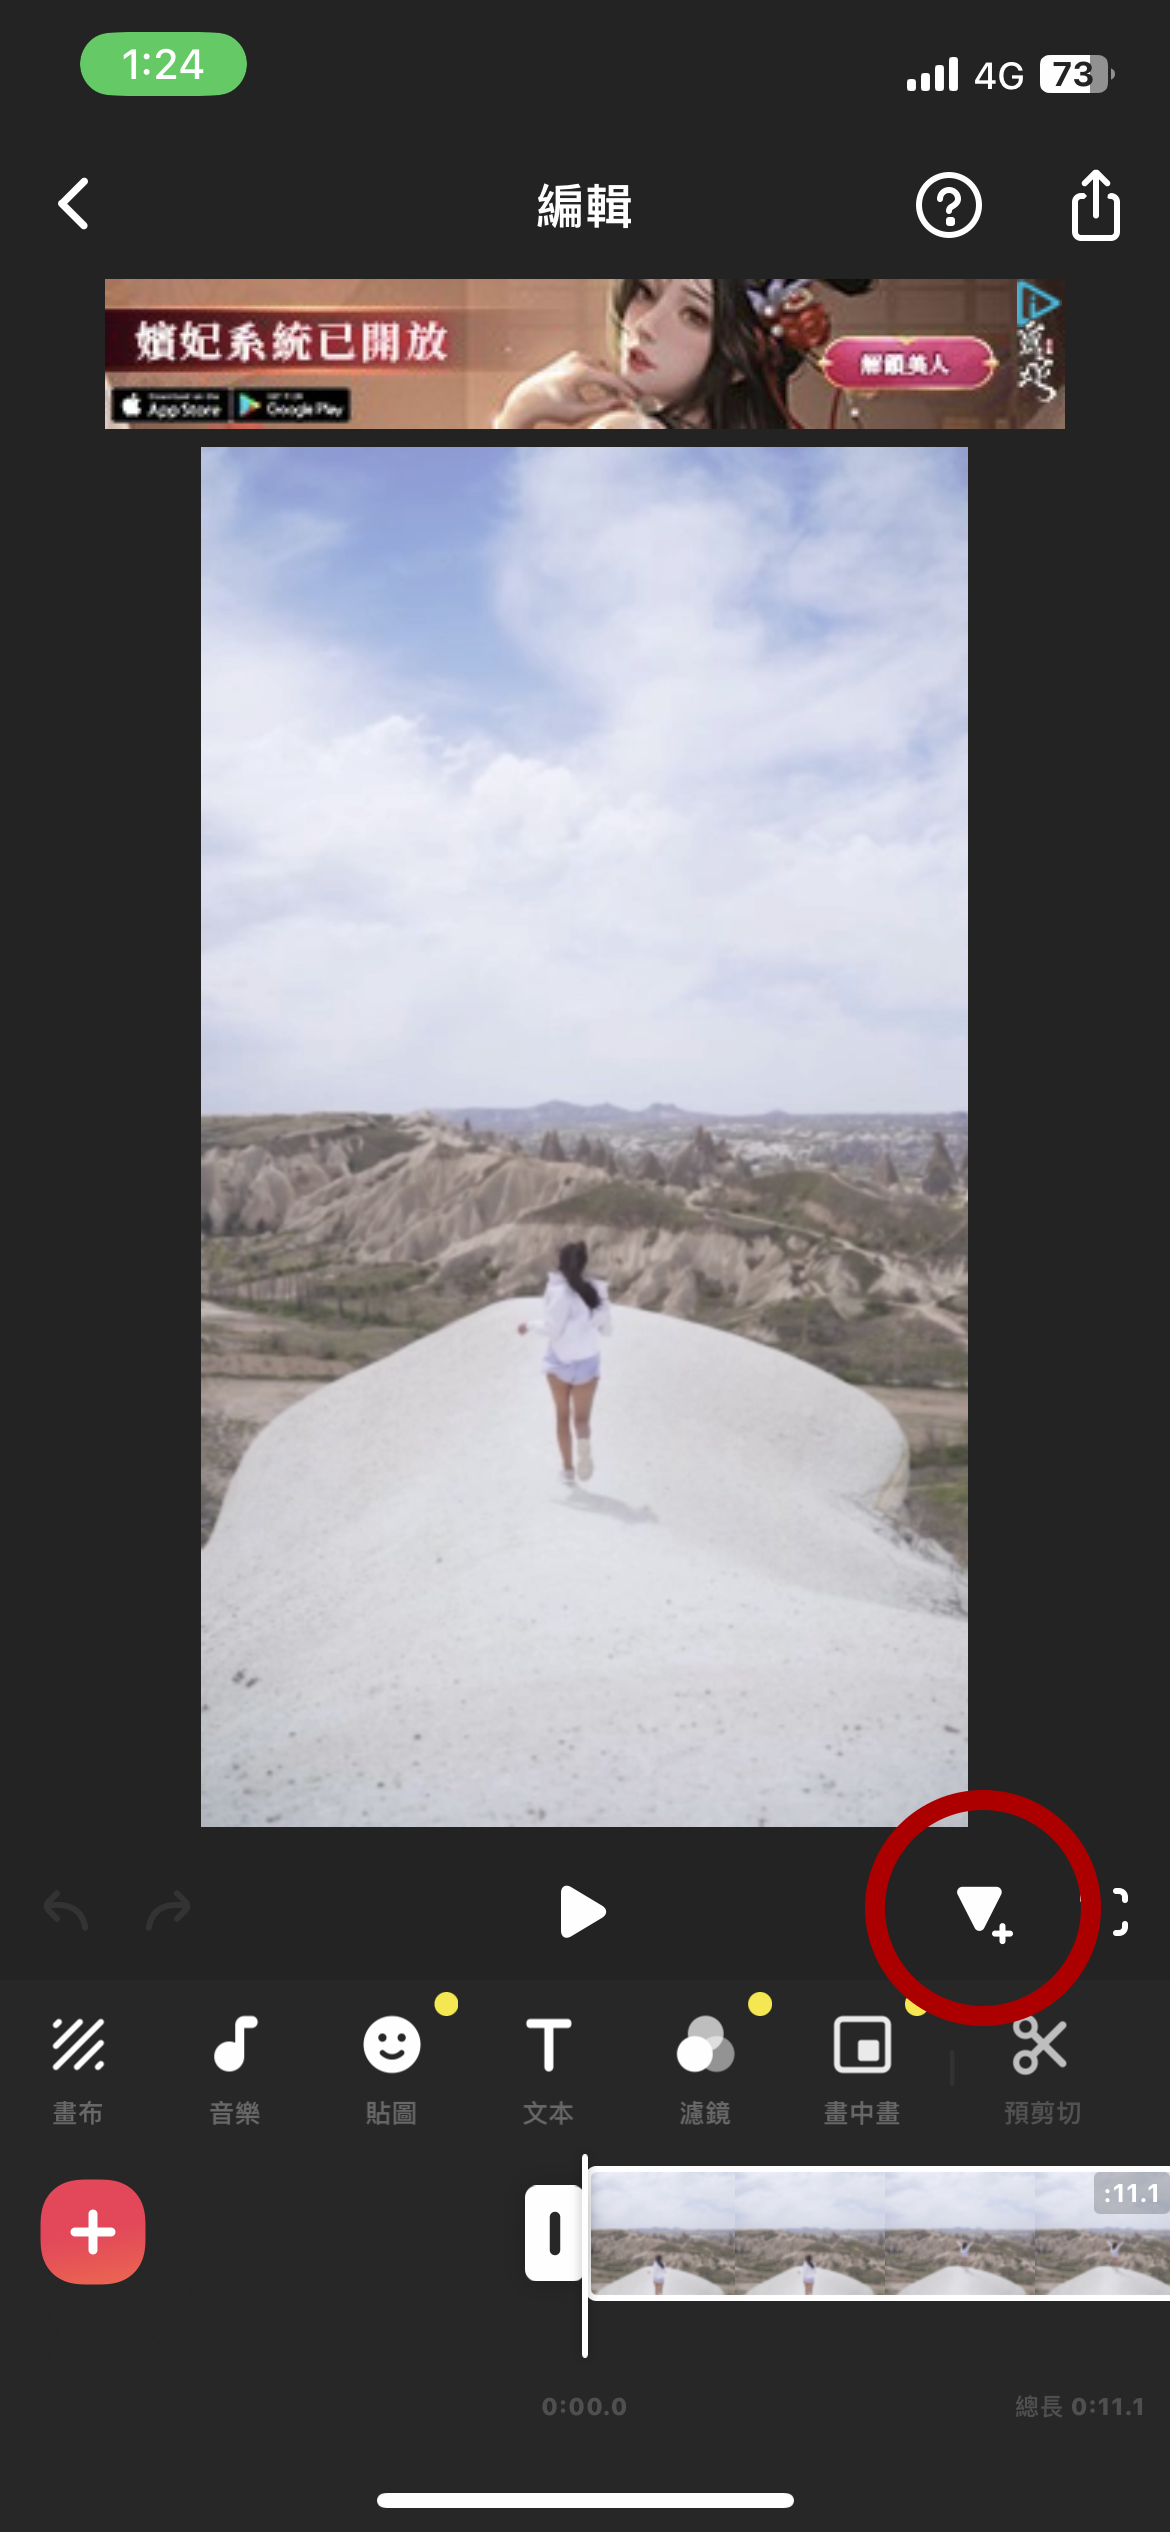
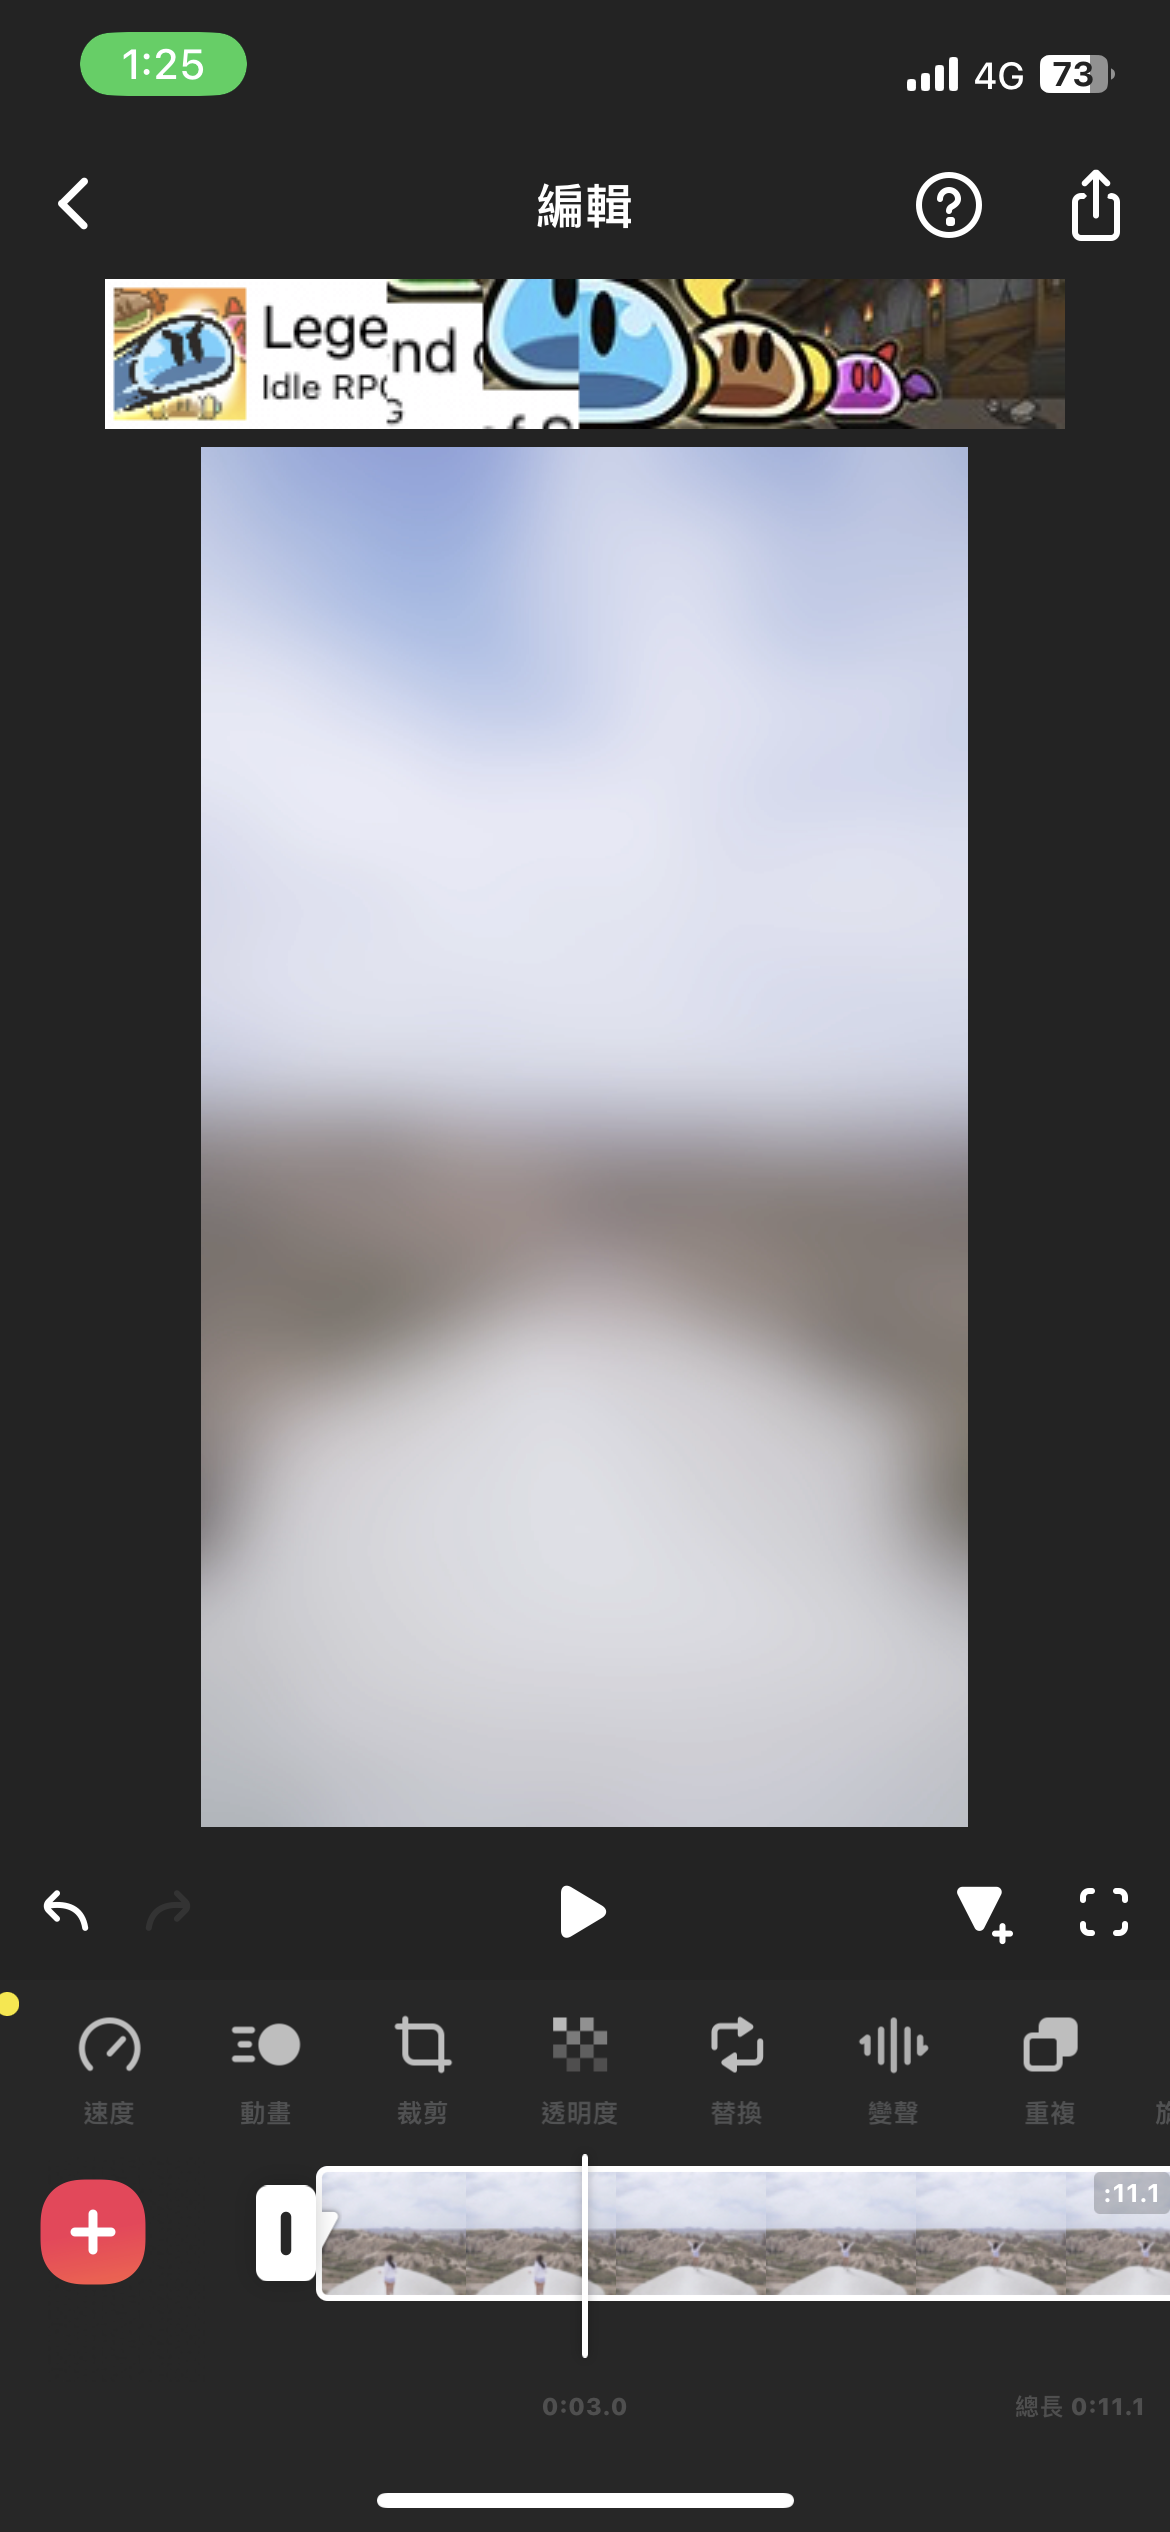
6.在要做關鍵幀的起始點,點擊「關鍵幀」
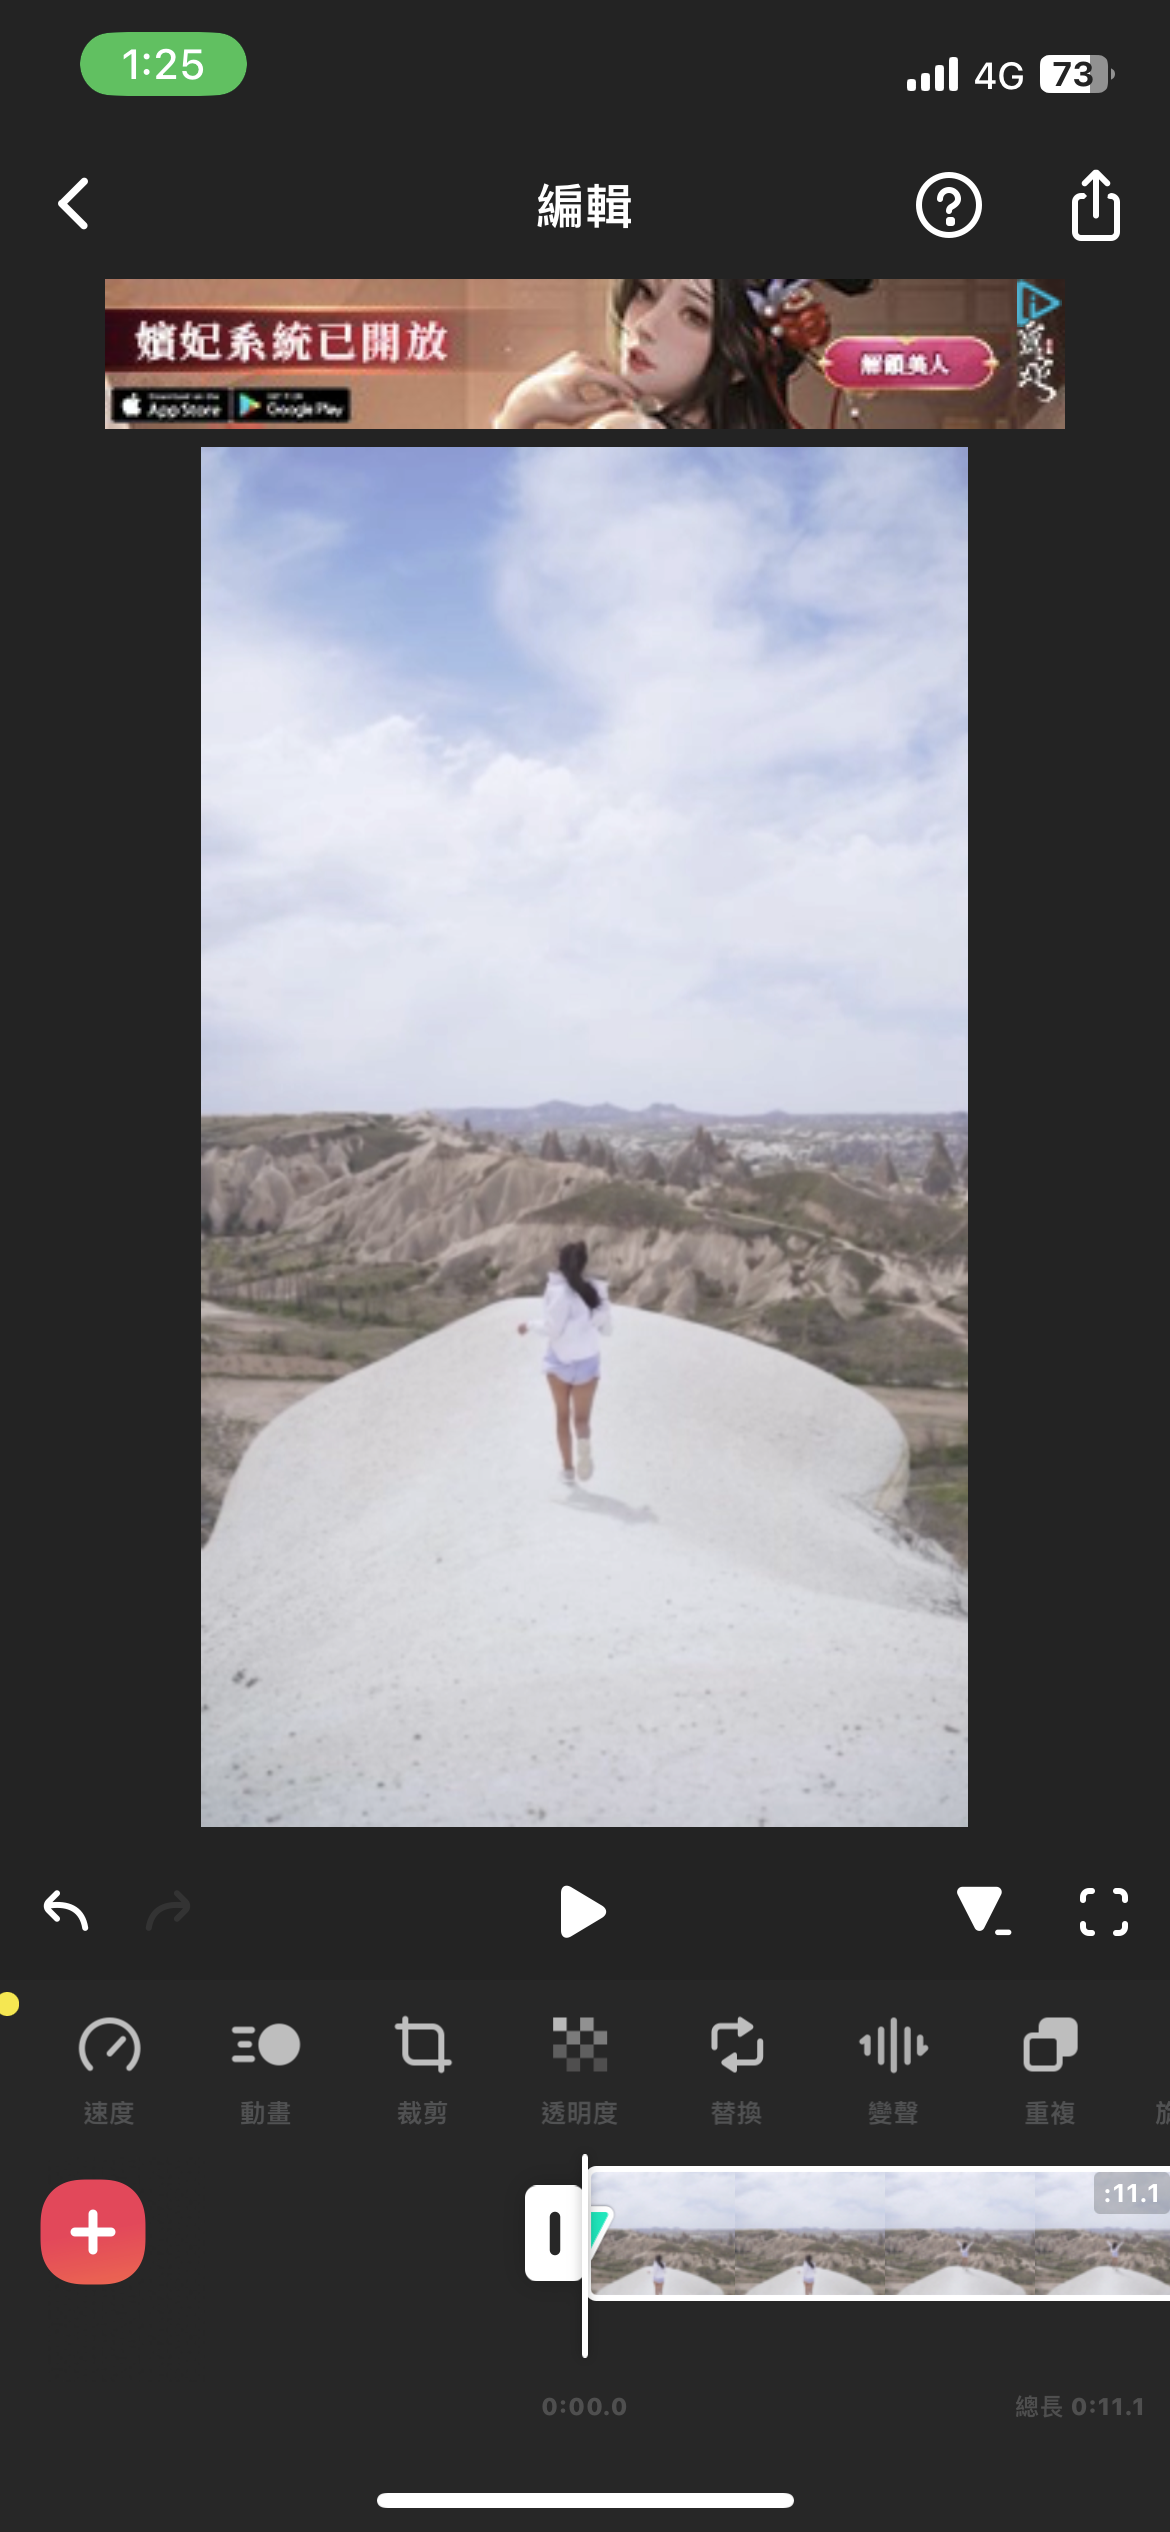
7.並在此選擇「透明度」
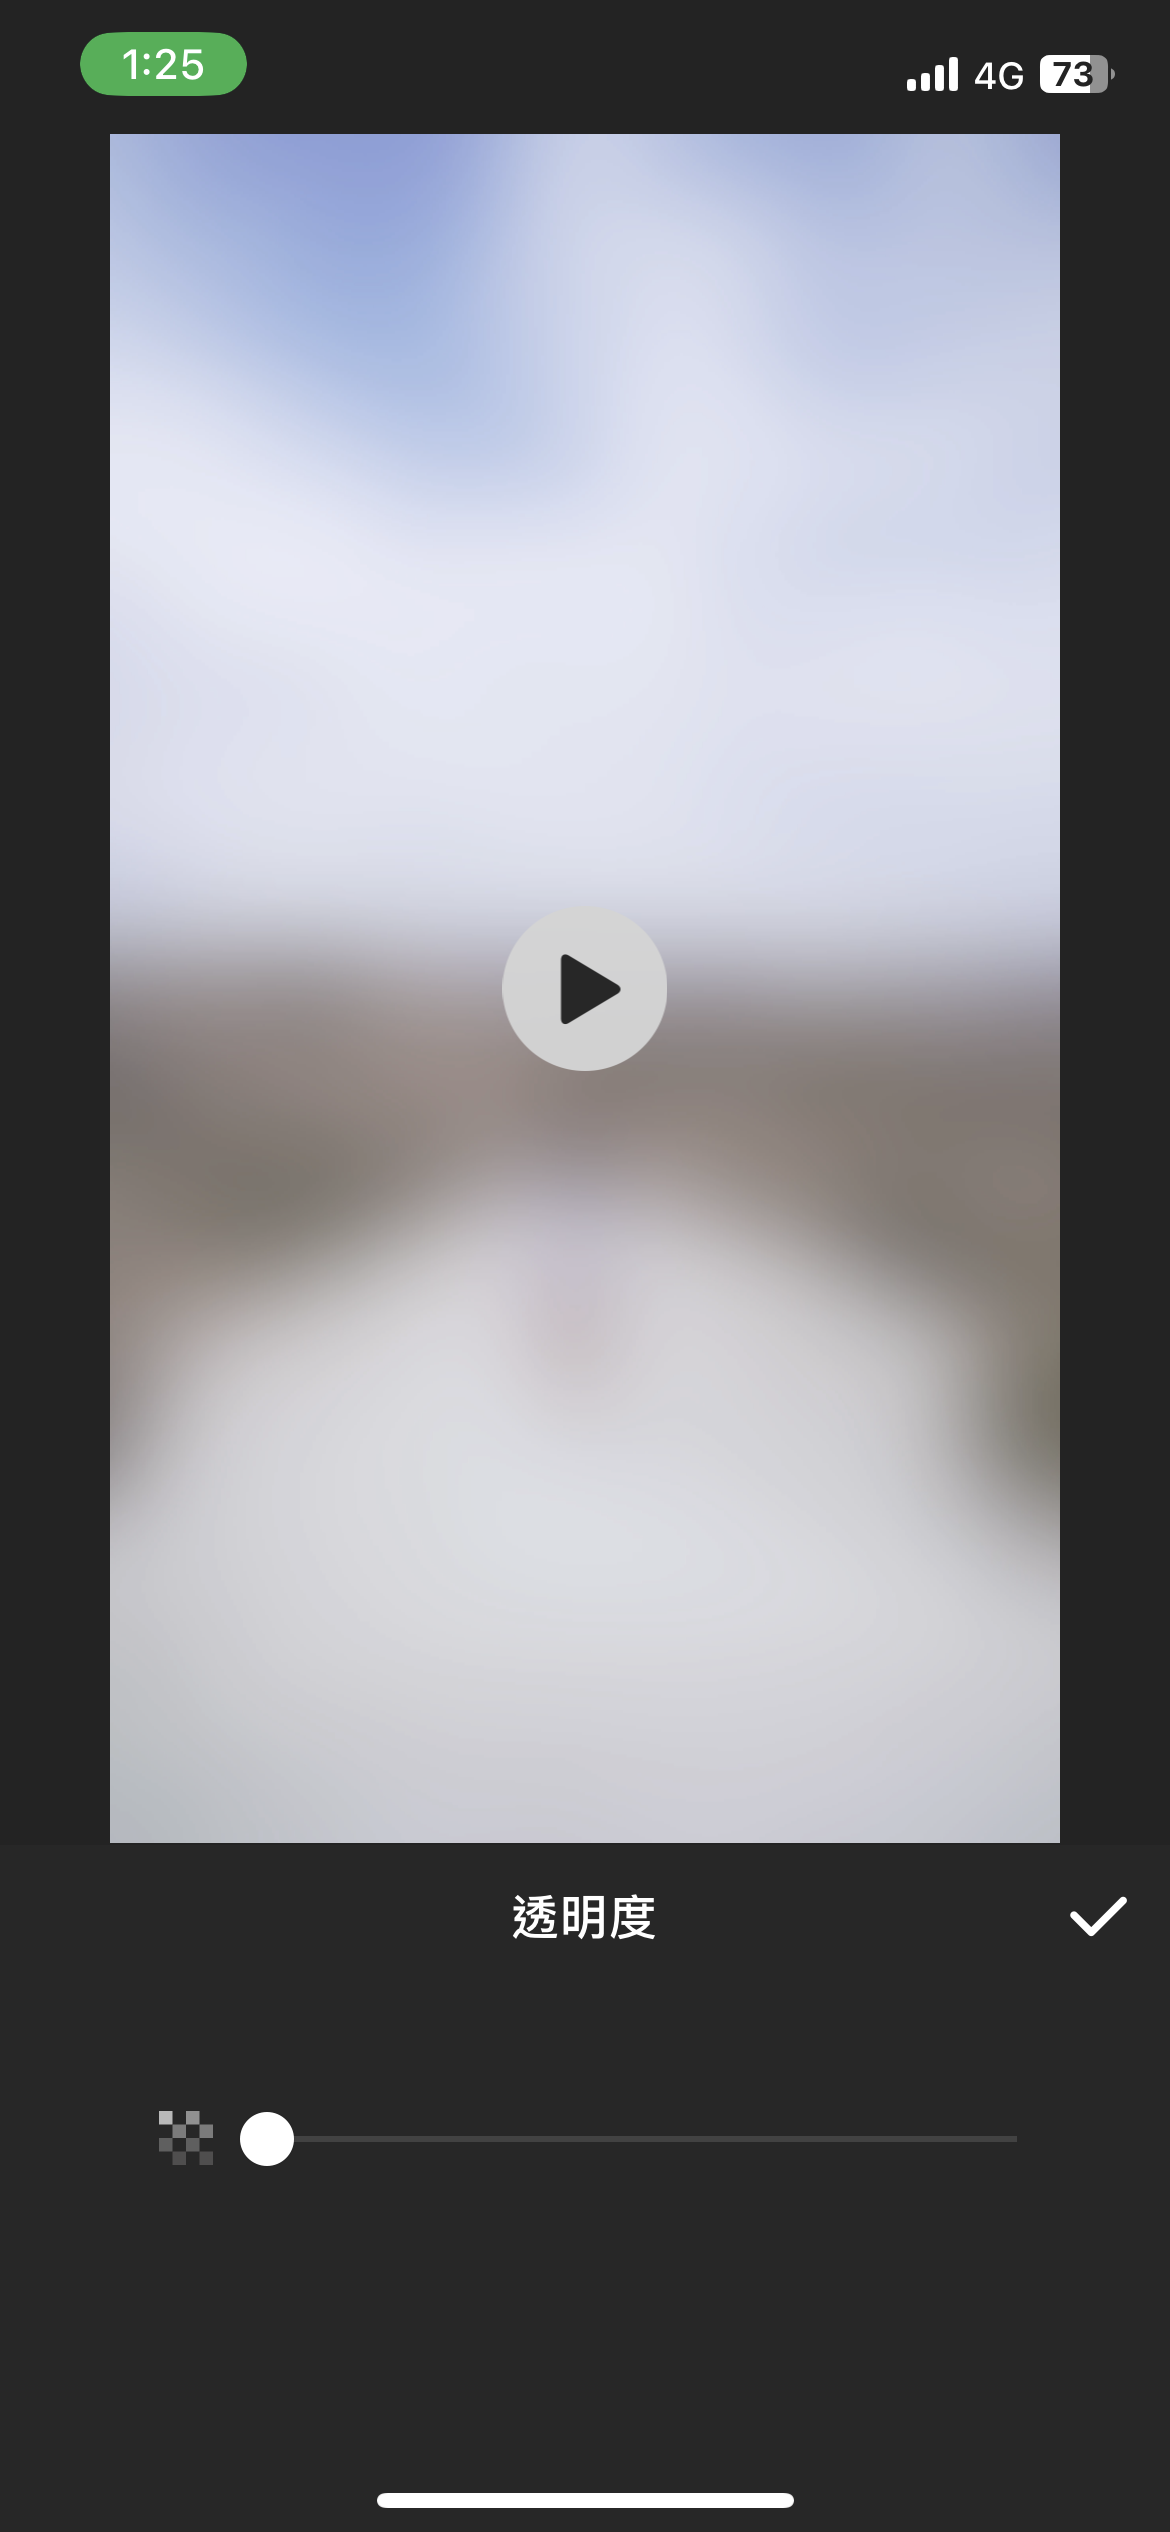
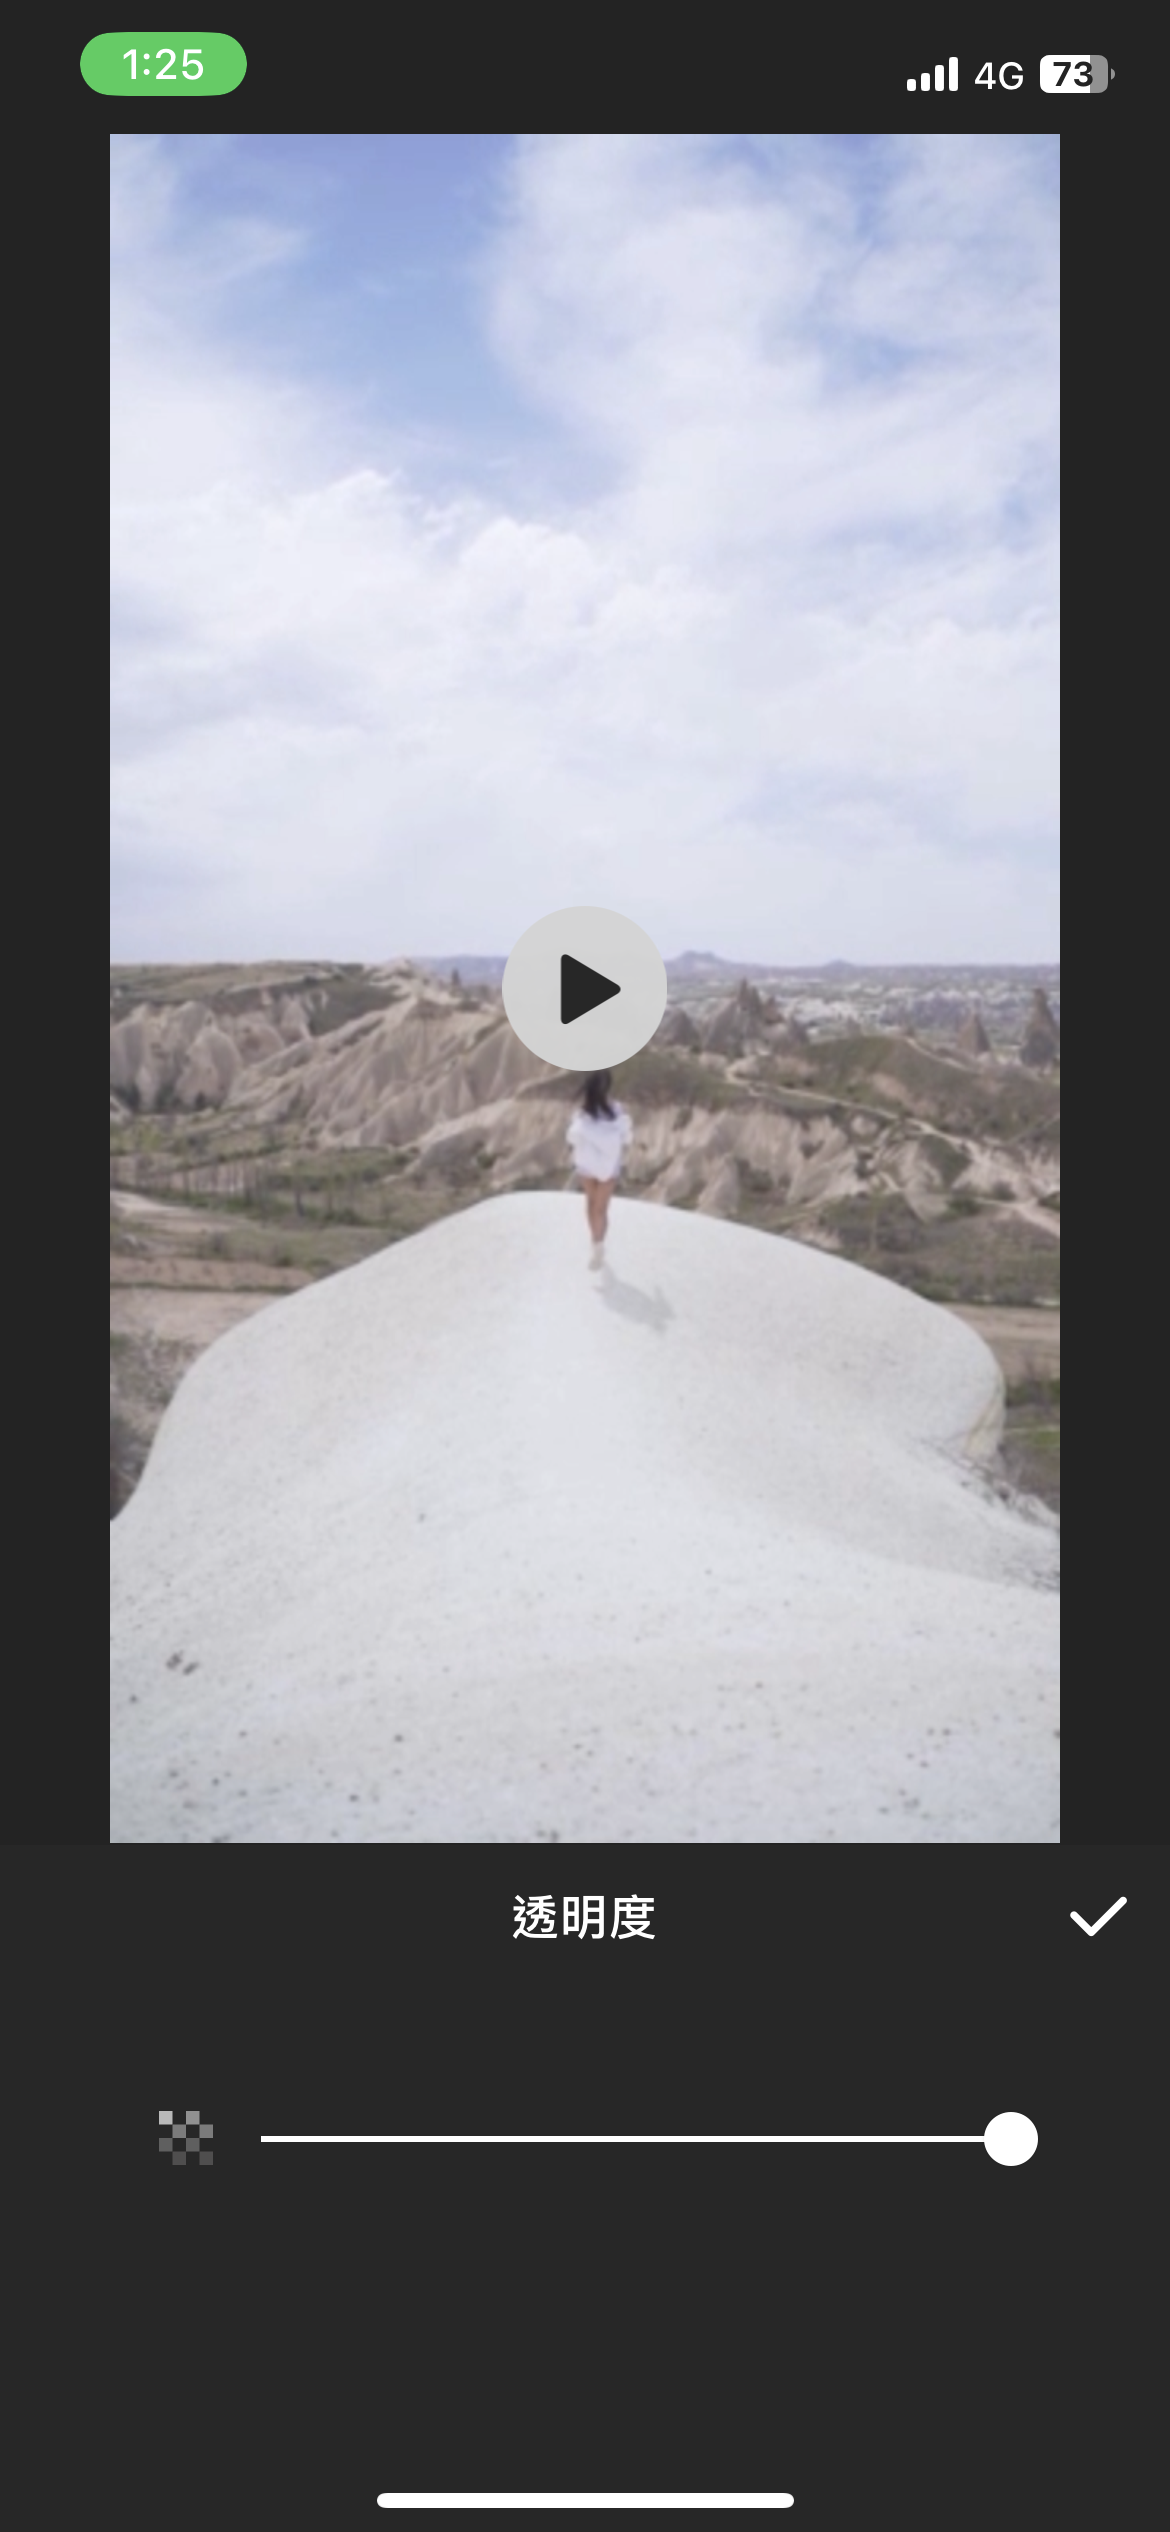
8.將透明度拉到最低
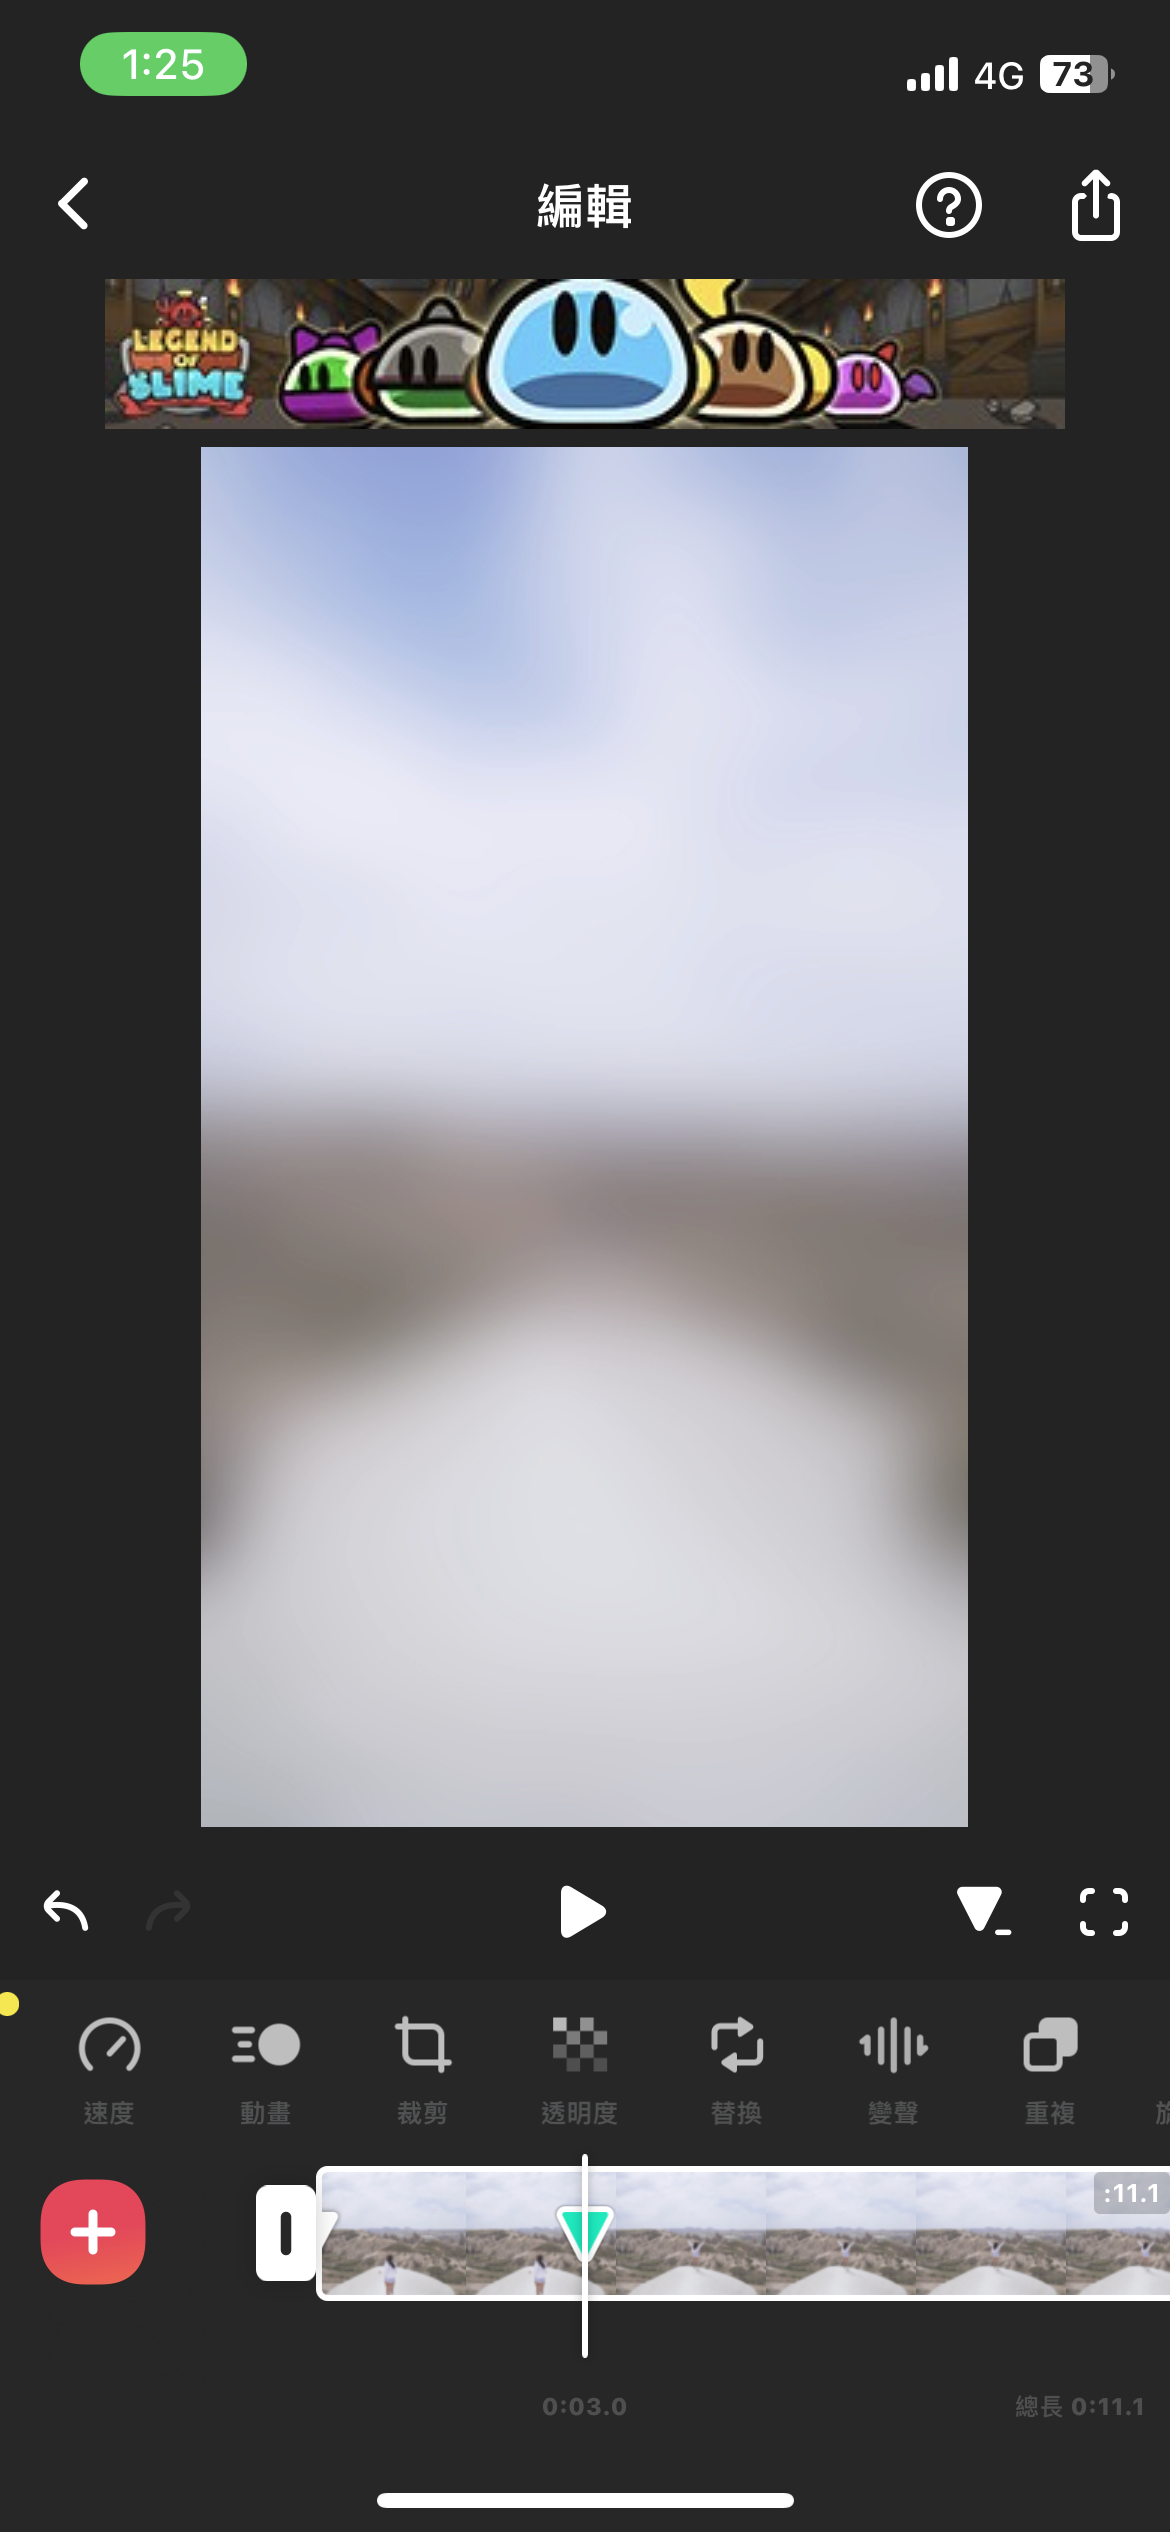
9.接著在時間軸上要結束透明度的地方,再點擊「關鍵幀」
10.這邊將透明度調最高
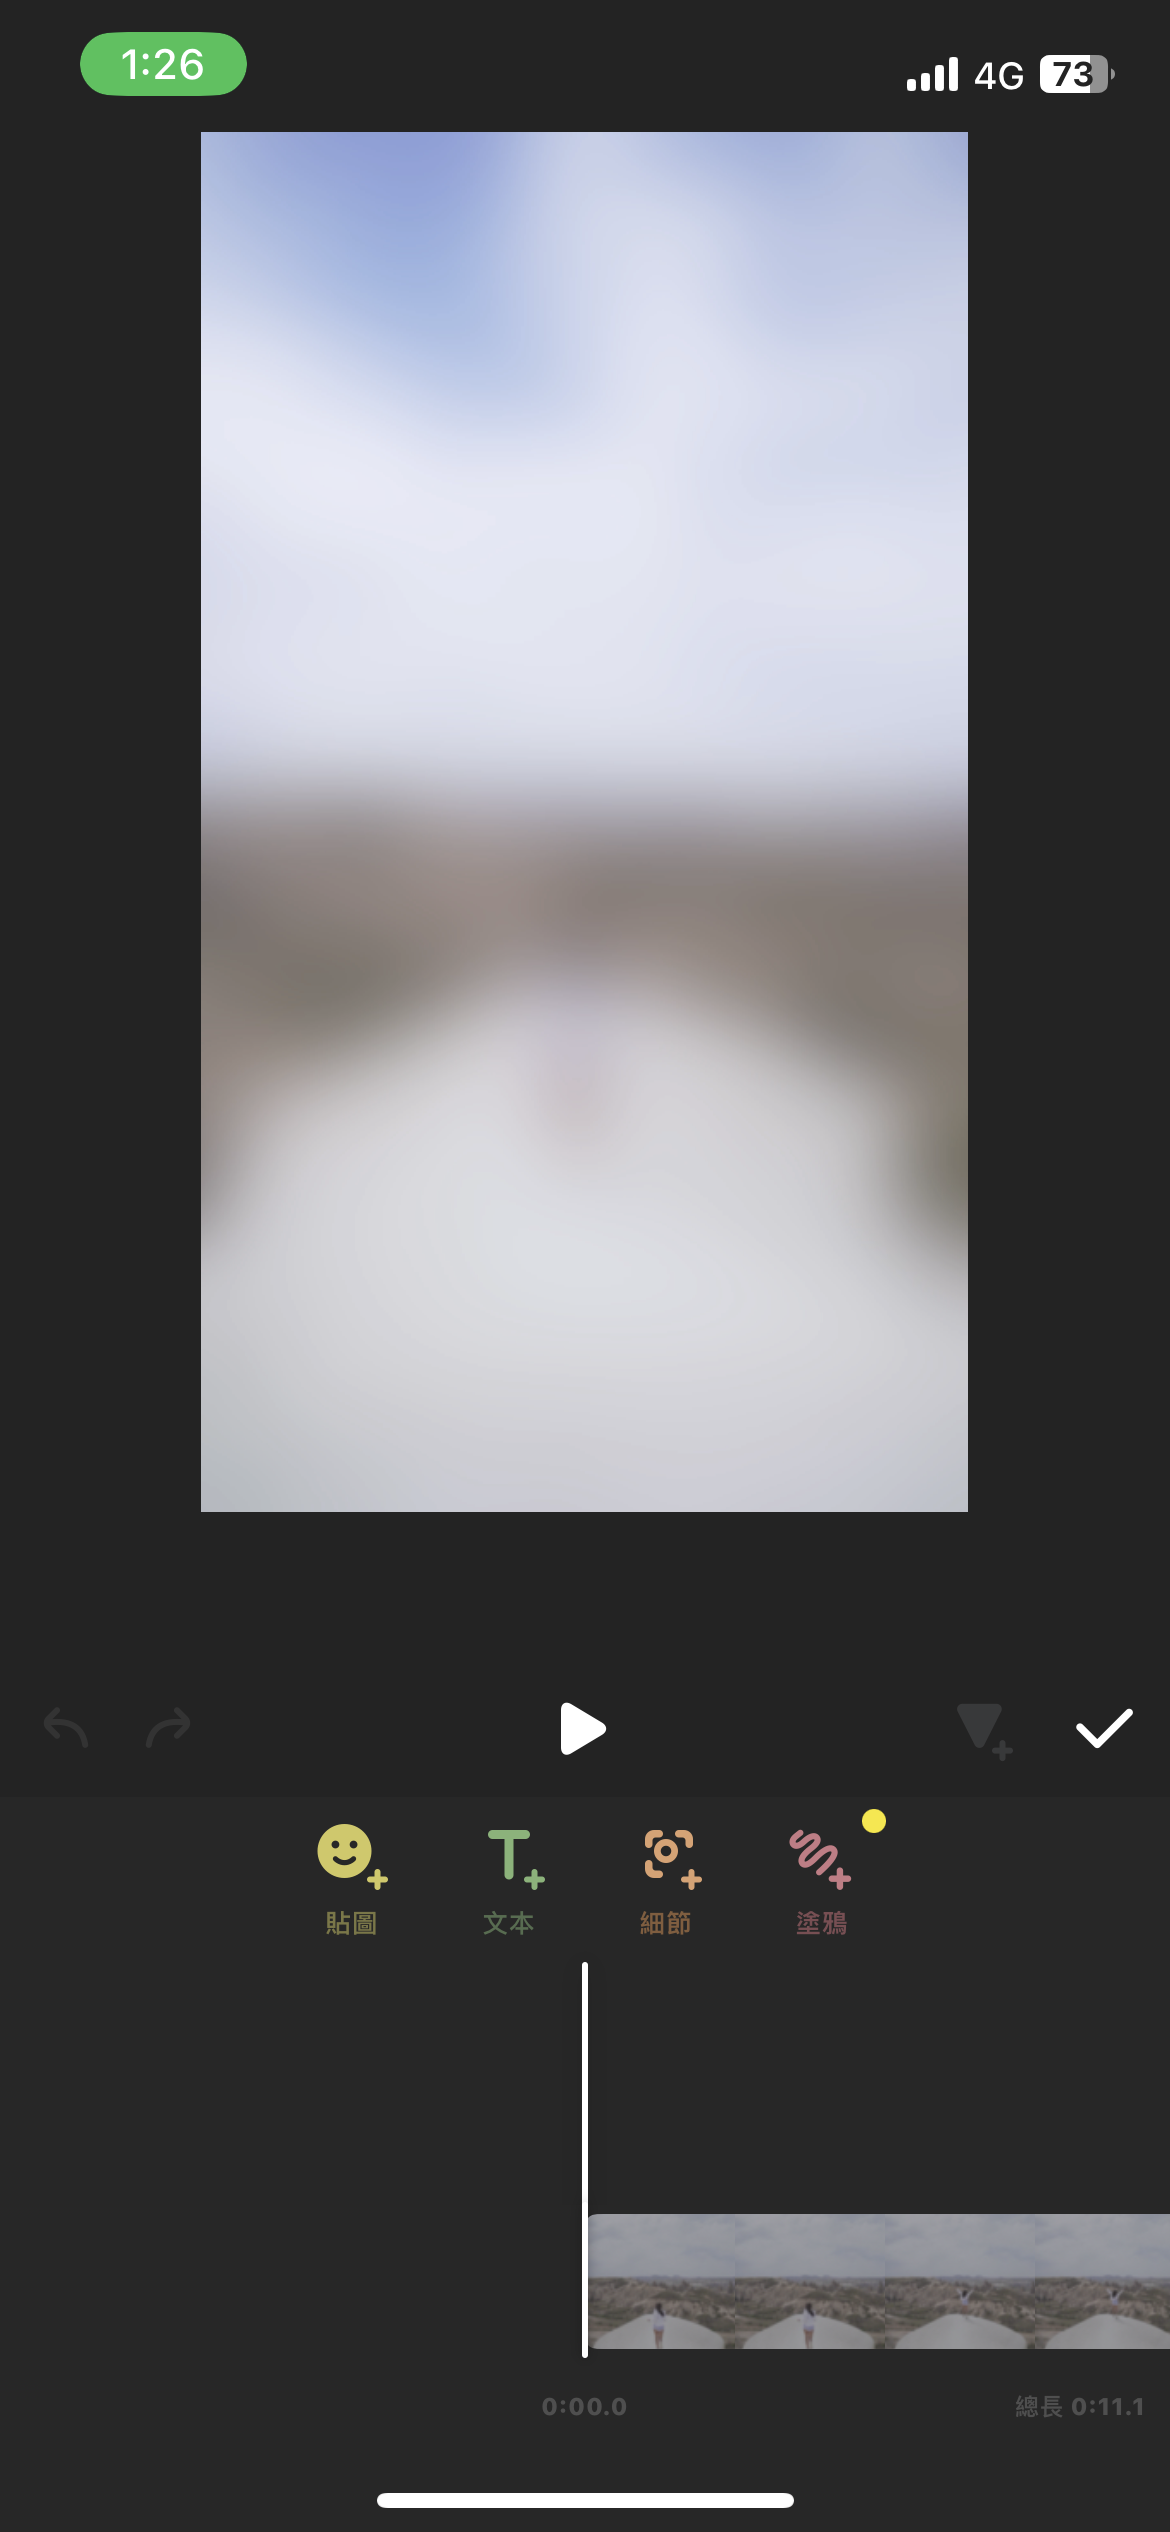
11.同樣關鍵幀也能用在貼圖上,我們選擇貼圖並加入
12.點選貼圖和選好時間軸後,點擊「關鍵幀」做起始狀態
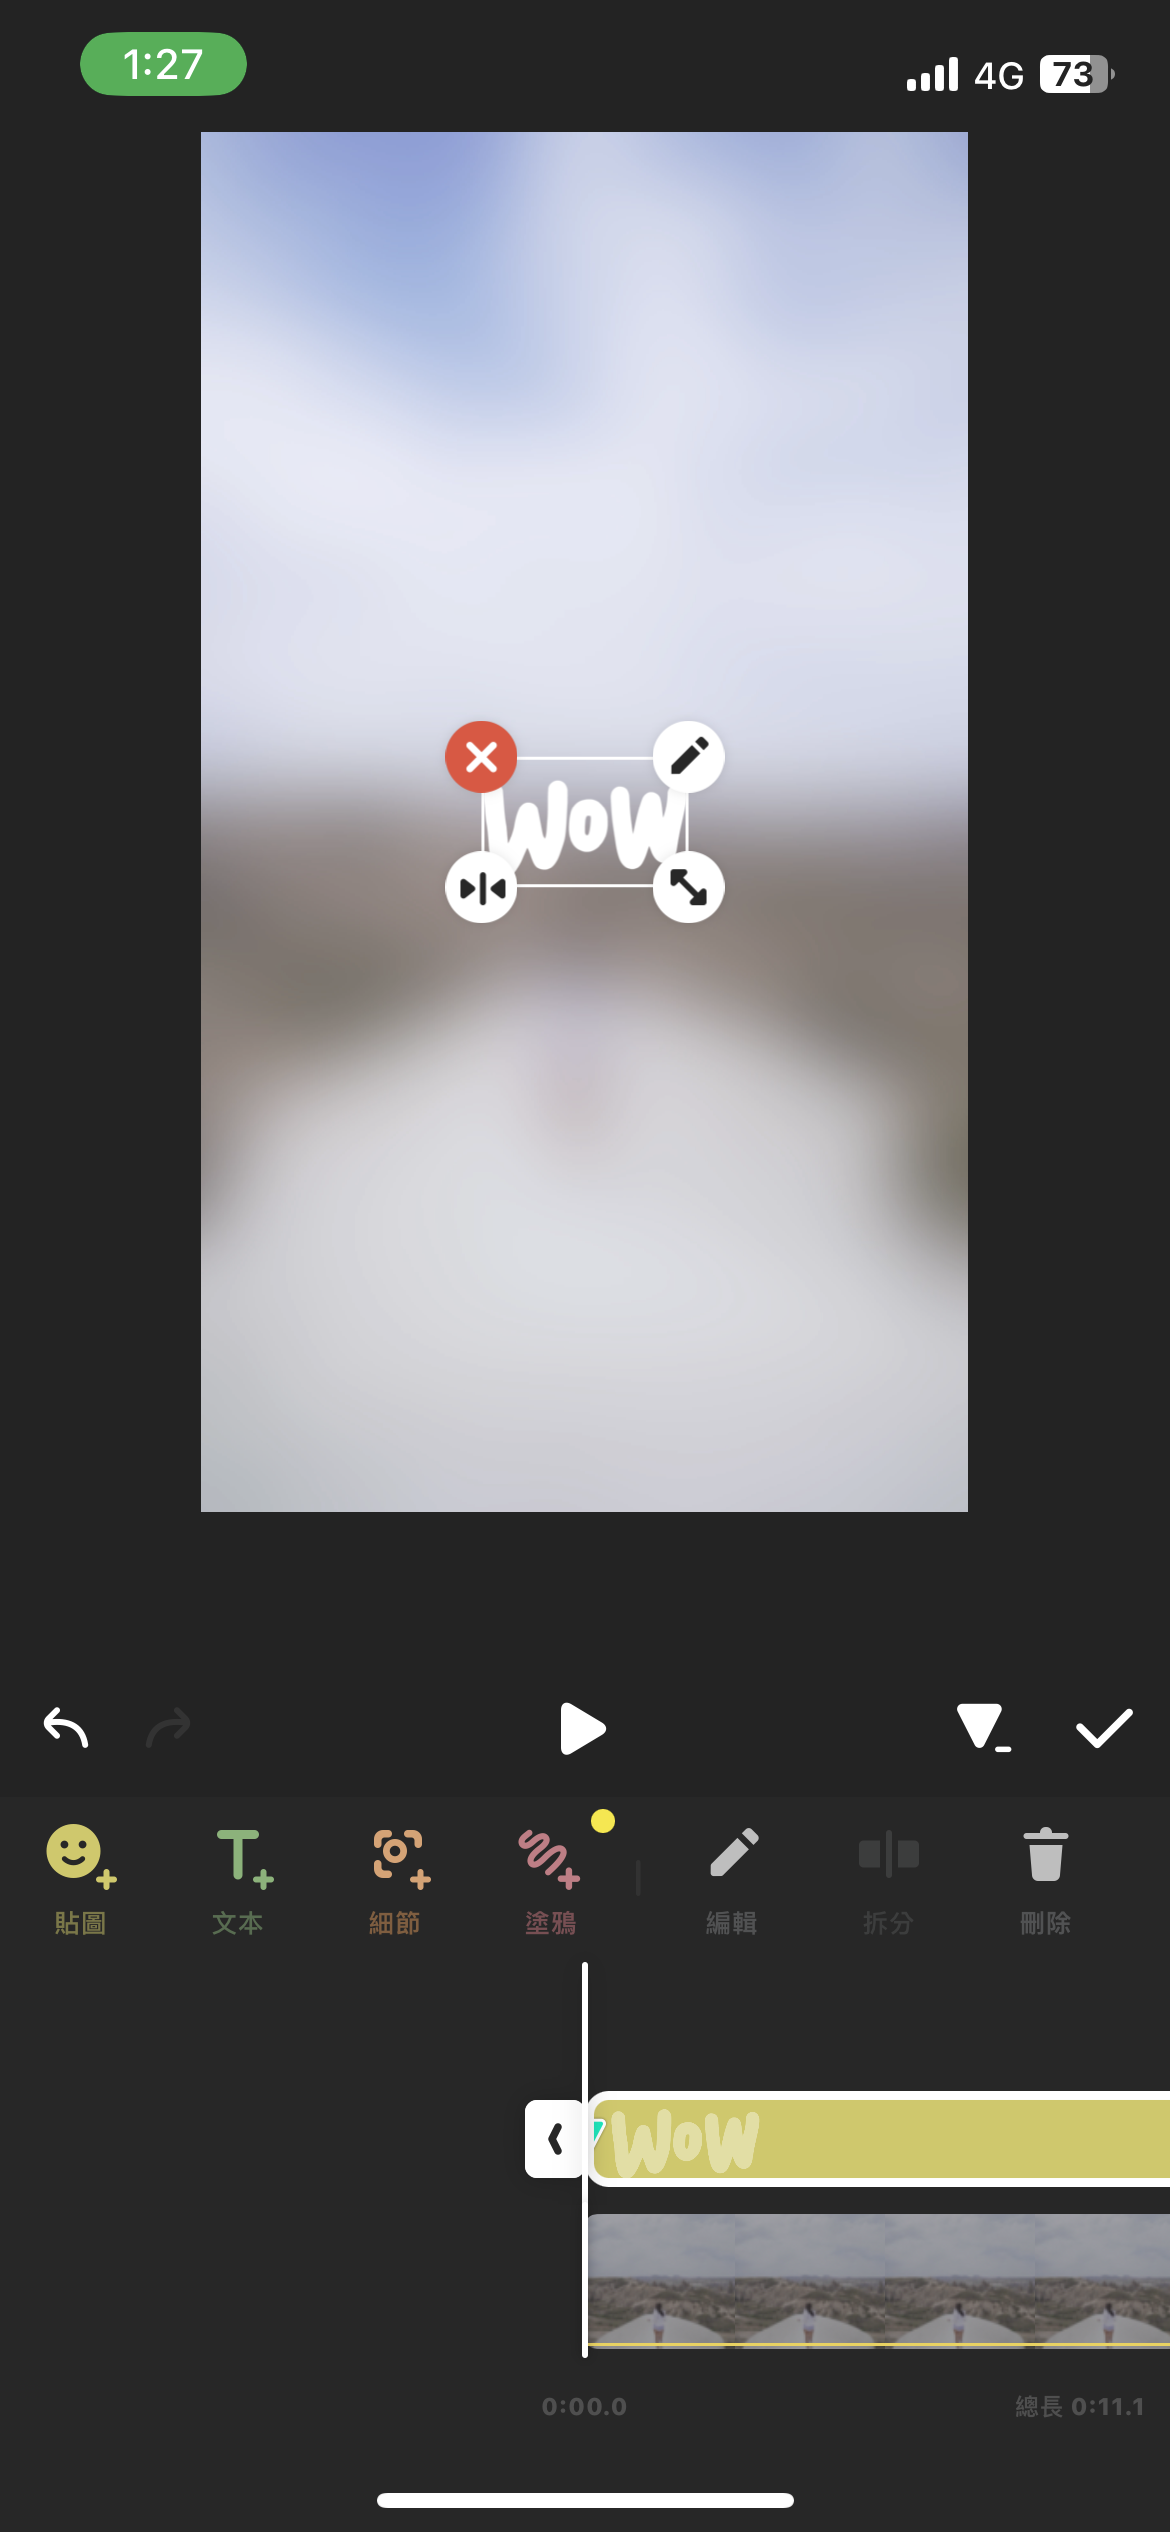
13.點擊「關鍵幀」在時間軸另一處調整貼圖位置、大小,做結束狀態
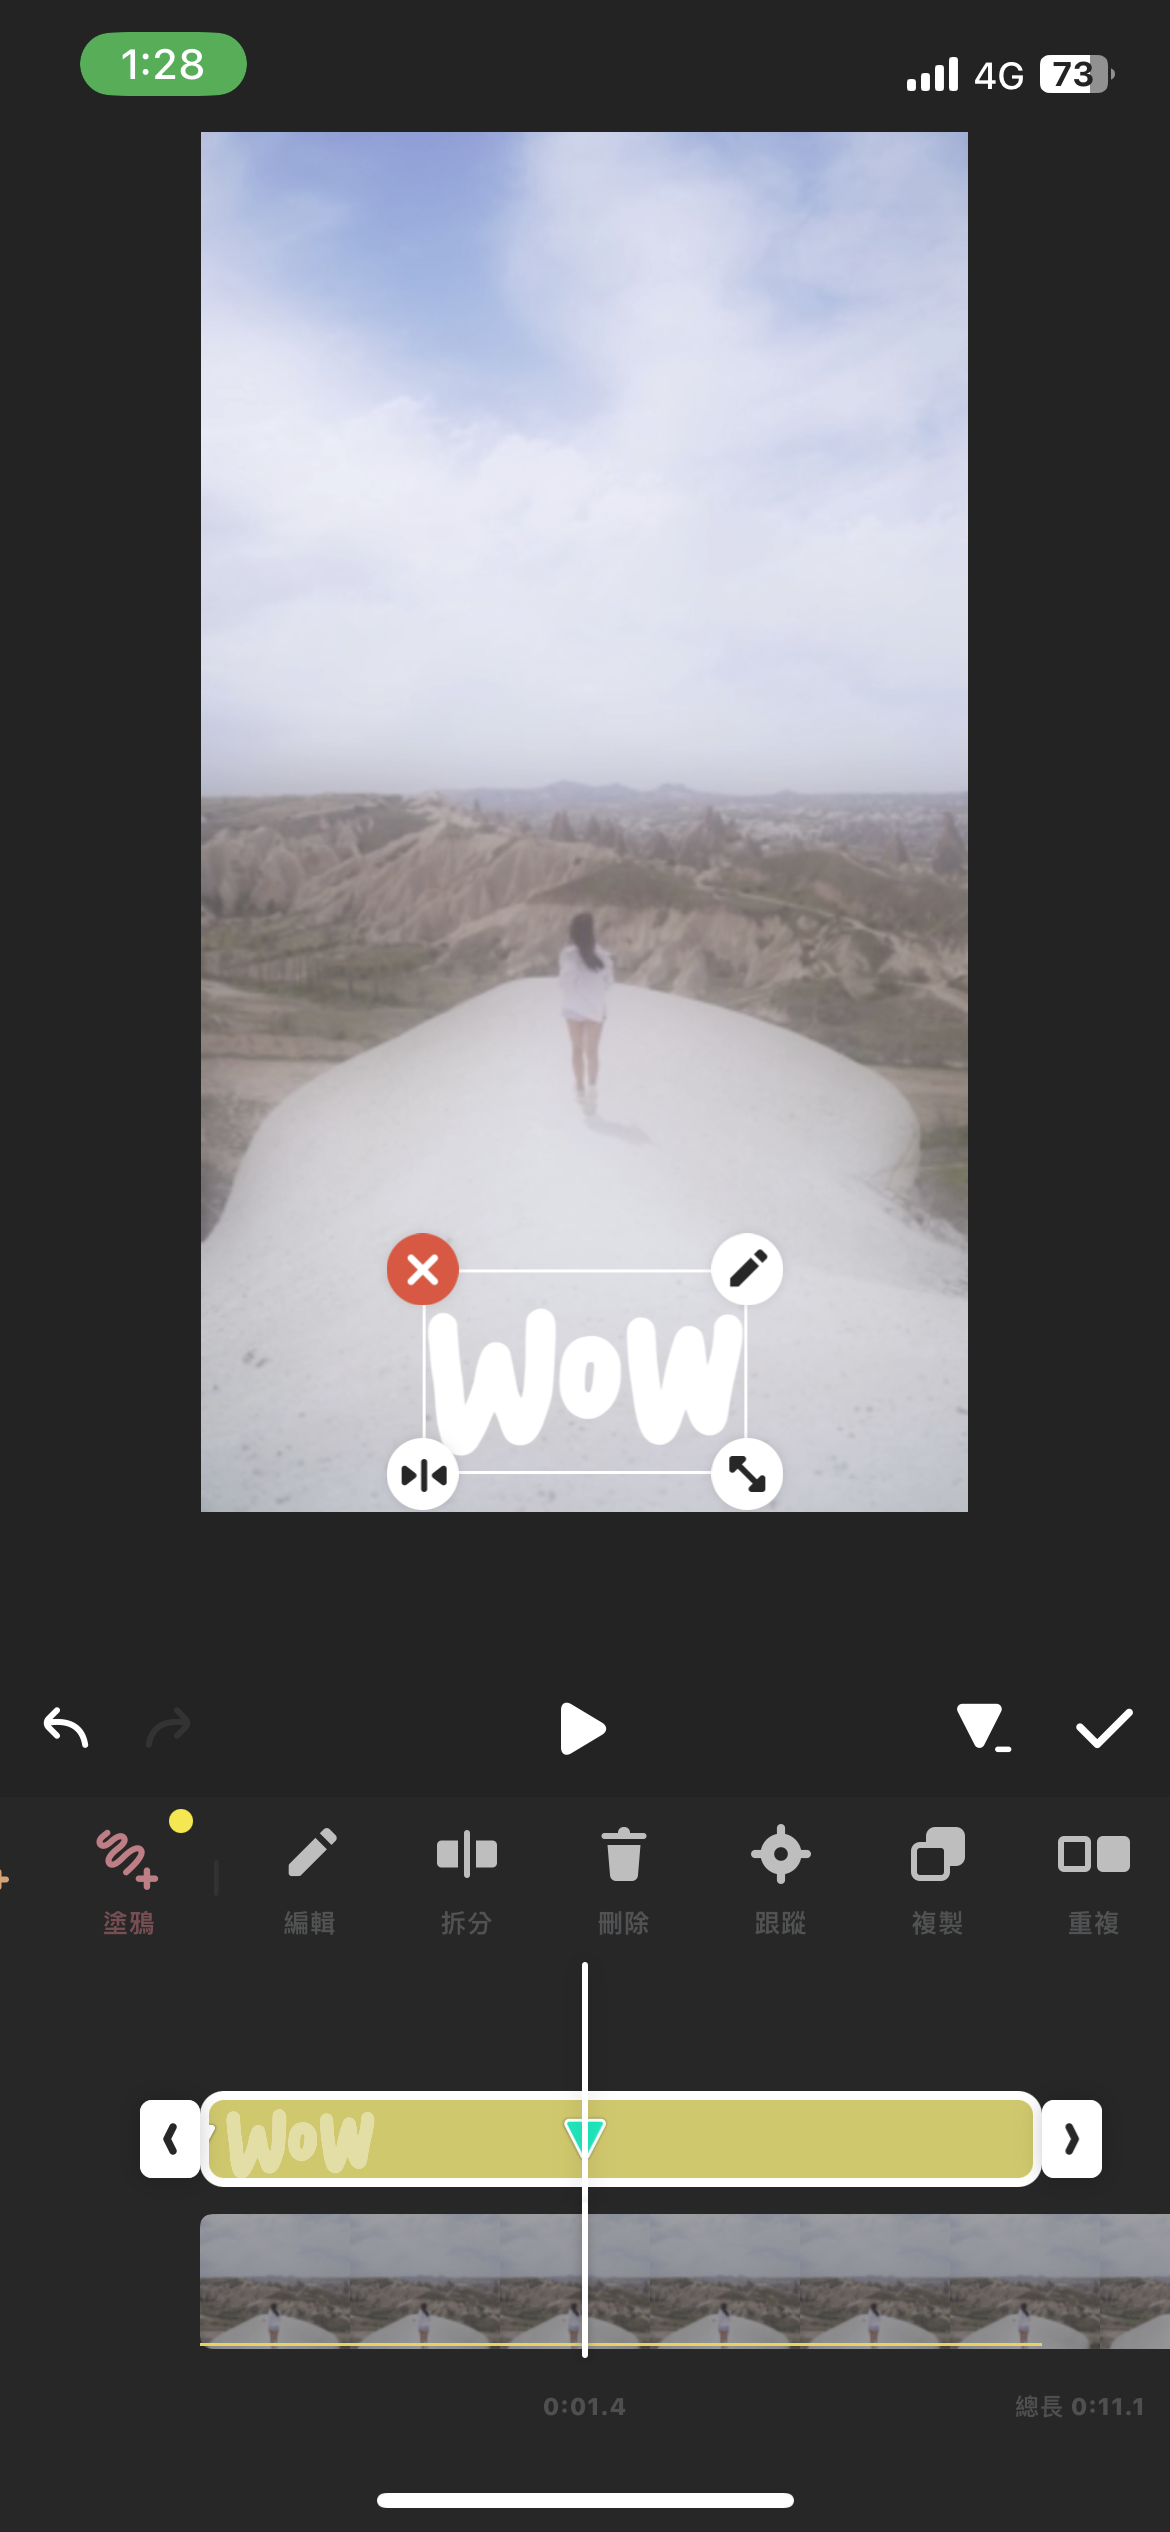
14.這樣就完成囉!
希望本教學對您在未來設計上能有所幫助。如對本系列有興趣可以參考其他篇以及隨時關注我們喔!
以上為 『超好用手機剪輯軟體InShot基礎教學-關鍵幀』的分享;訂閱歐斯瑞的電子報及IG、追蹤臉書粉絲團,就不會錯過更多相關實用資訊喔!
如有設計需求歡迎聯繫我們。


我要留言