
Magento 2 新增後台選單
Magento 在開發期間,常常需要建立一個後台管理介面,但是後台的選單是使用 ui components 所產生出來,所以需要依照原生的設定來撰寫,今天我們就來介紹一下如何產生客製化選單。
*適用版本:Magento 2.0.0 以上
1.XML 定義檔
跟大部分的 Magento 程式一樣,皆需先使用定義檔來定義 Config 及 menu 等等,以下範例,我們定義一個 News 的目錄,並給予裡面兩個選項,分別為 News 及 Category。
檔名及路徑:
vendor/extension/etc/adminhtml/menu.xml
程式碼:
<?xml version="1.0"?>
<config xmlns:xsi="http://www.w3.org/2001/XMLSchema-instance"
        xsi:noNamespaceSchemaLocation="urn:magento:module:Magento_Backend:etc/menu.xsd">
    <menu>
        <add id="Grayson_CustomAdminMenu::news"
             title="News"
             module="Grayson_CustomAdminMenu"
             sortOrder="50"
             resource="Magento_Backend::content" />

        <add id="Grayson_CustomAdminMenu::sub_news"
             title="News"
             module="Grayson_CustomAdminMenu"
             sortOrder="0"
             action="News"
             parent="Grayson_CustomAdminMenu::news"
             resource="Magento_Backend::content" />

        <add id="Grayson_CustomAdminMenu::category"
             title="Category"
             module="Grayson_CustomAdminMenu"
             sortOrder="0"
             action="News/category"
             parent="Grayson_CustomAdminMenu::news"
             resource="Magento_Backend::content" />
    </menu>
</config>
* id:每個 item 必須要有唯一的 id,不可與其他 item 重複參數說明
* parent:parent 層級的 id
* Module:此 Module 的名稱
* action:路由名稱,就是點選後,會連結過去的頁面
* sortOrder:目錄選單順序
* title:要顯示的文字
2.執行指令
因為有動到 xml 檔案,所以必須執行 compile 命令
$ bin/magento setup:upgrade
$ bin/magento setup:di:compile
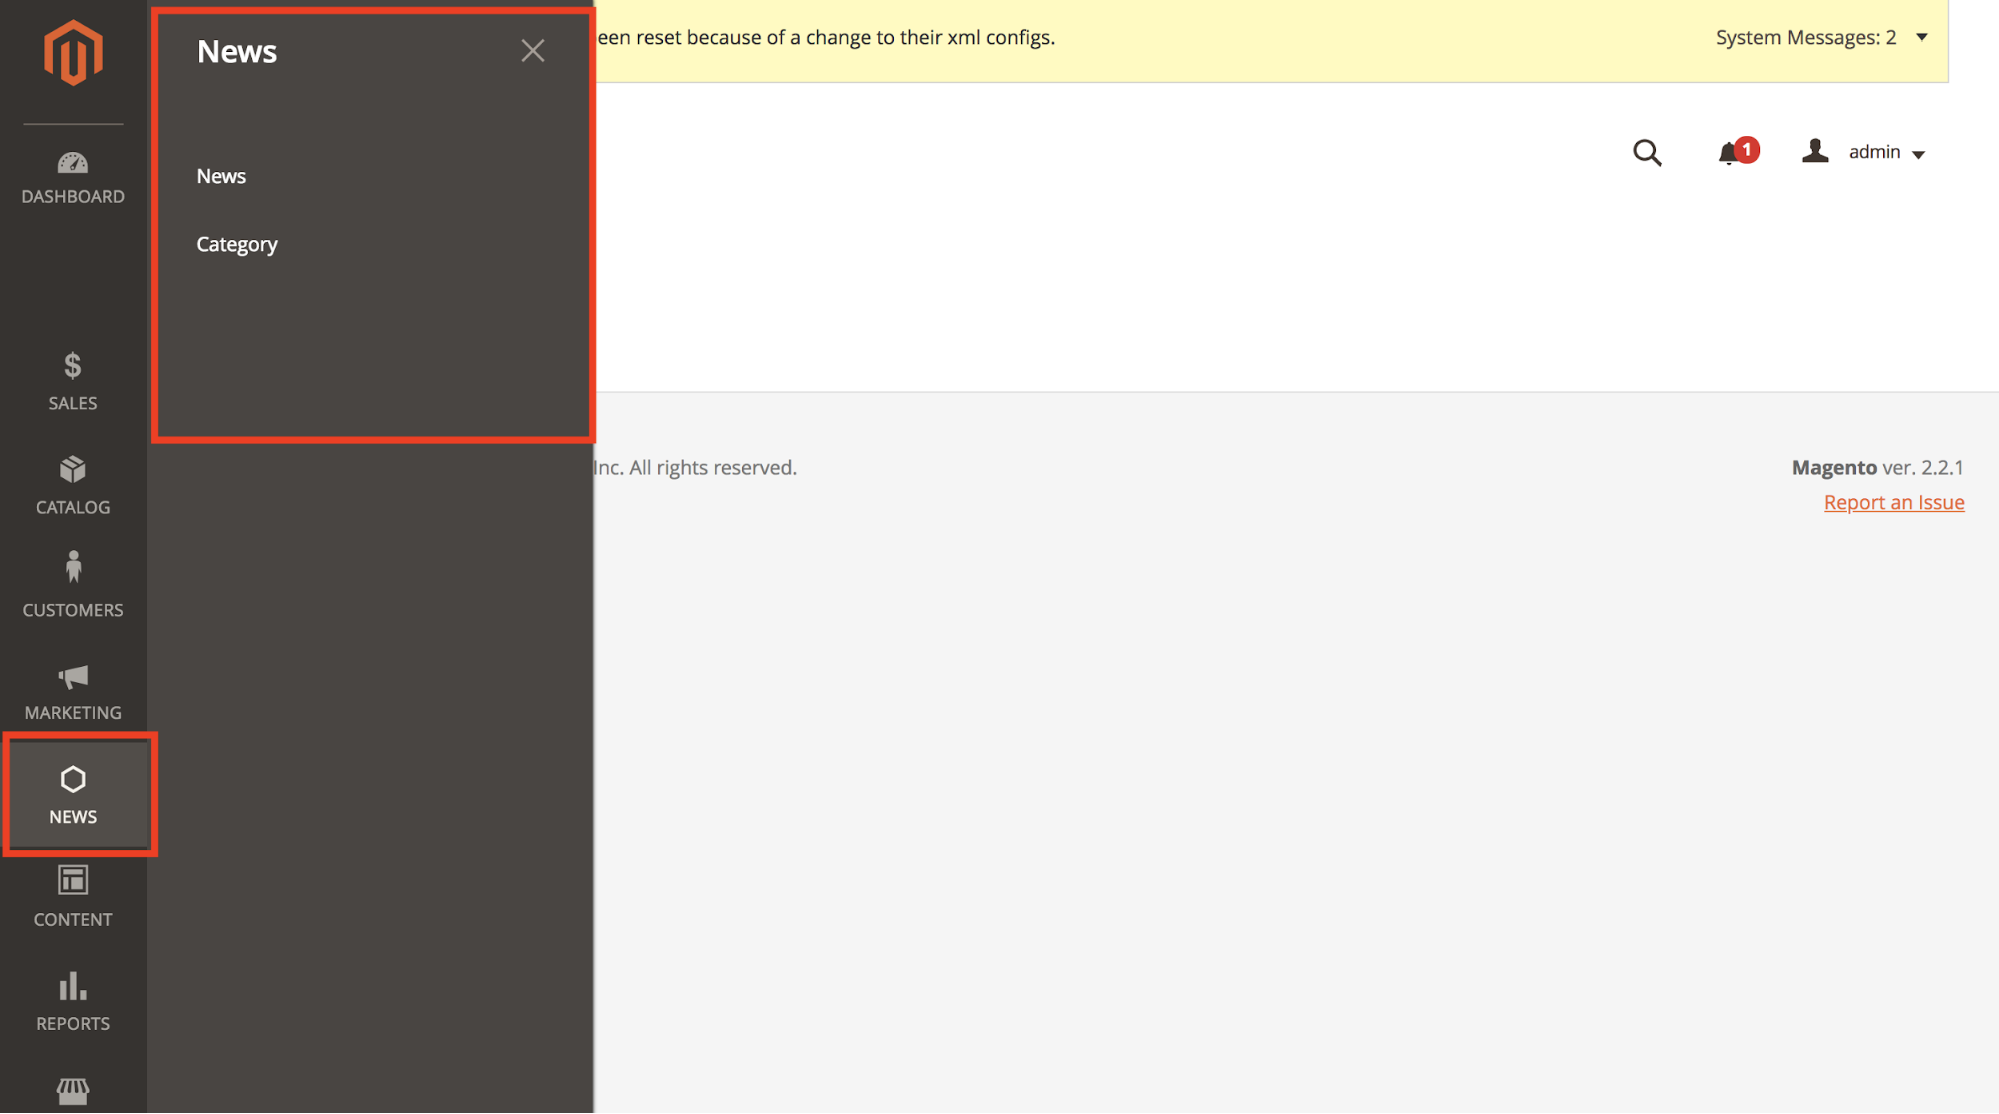
3.完成畫面
接著打開後台介面,可以看到我們設定的 menu 出現在選單項目中
以上就是如何在Magento 2 新增後台選單的教學,想知道更多Magento相關教學資訊,歡迎訂閱歐斯瑞電子報,以及追蹤我們的Facebook粉絲專頁喔!
延伸閱讀:
更多Magento相關文章請看: Magento教學導覽


我要留言